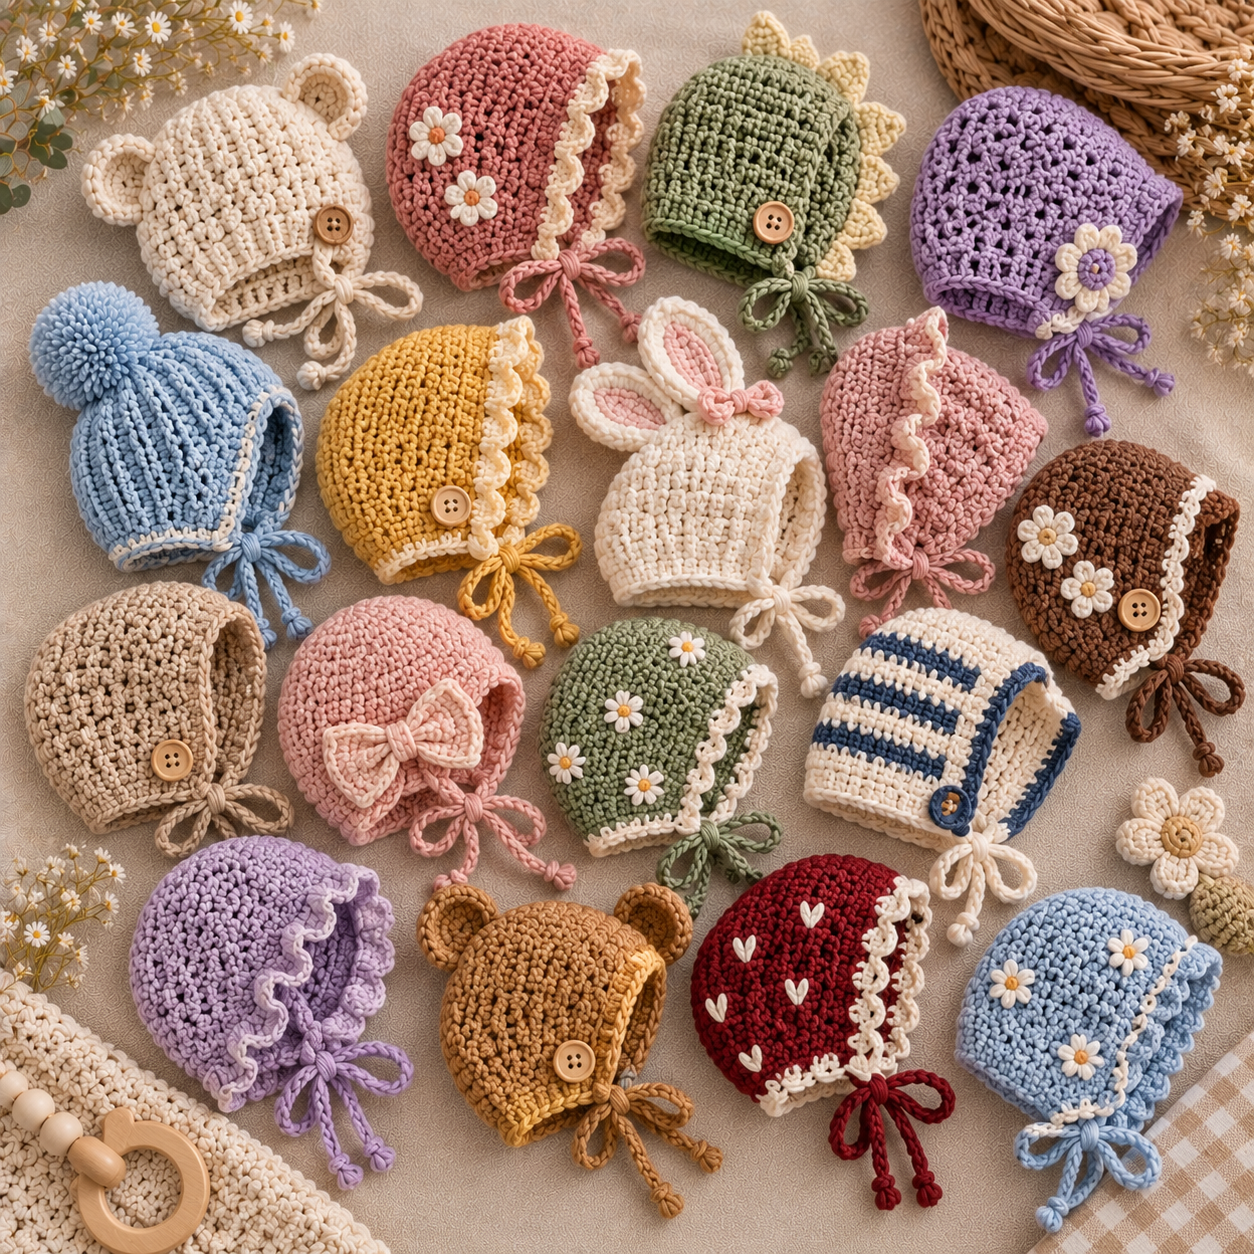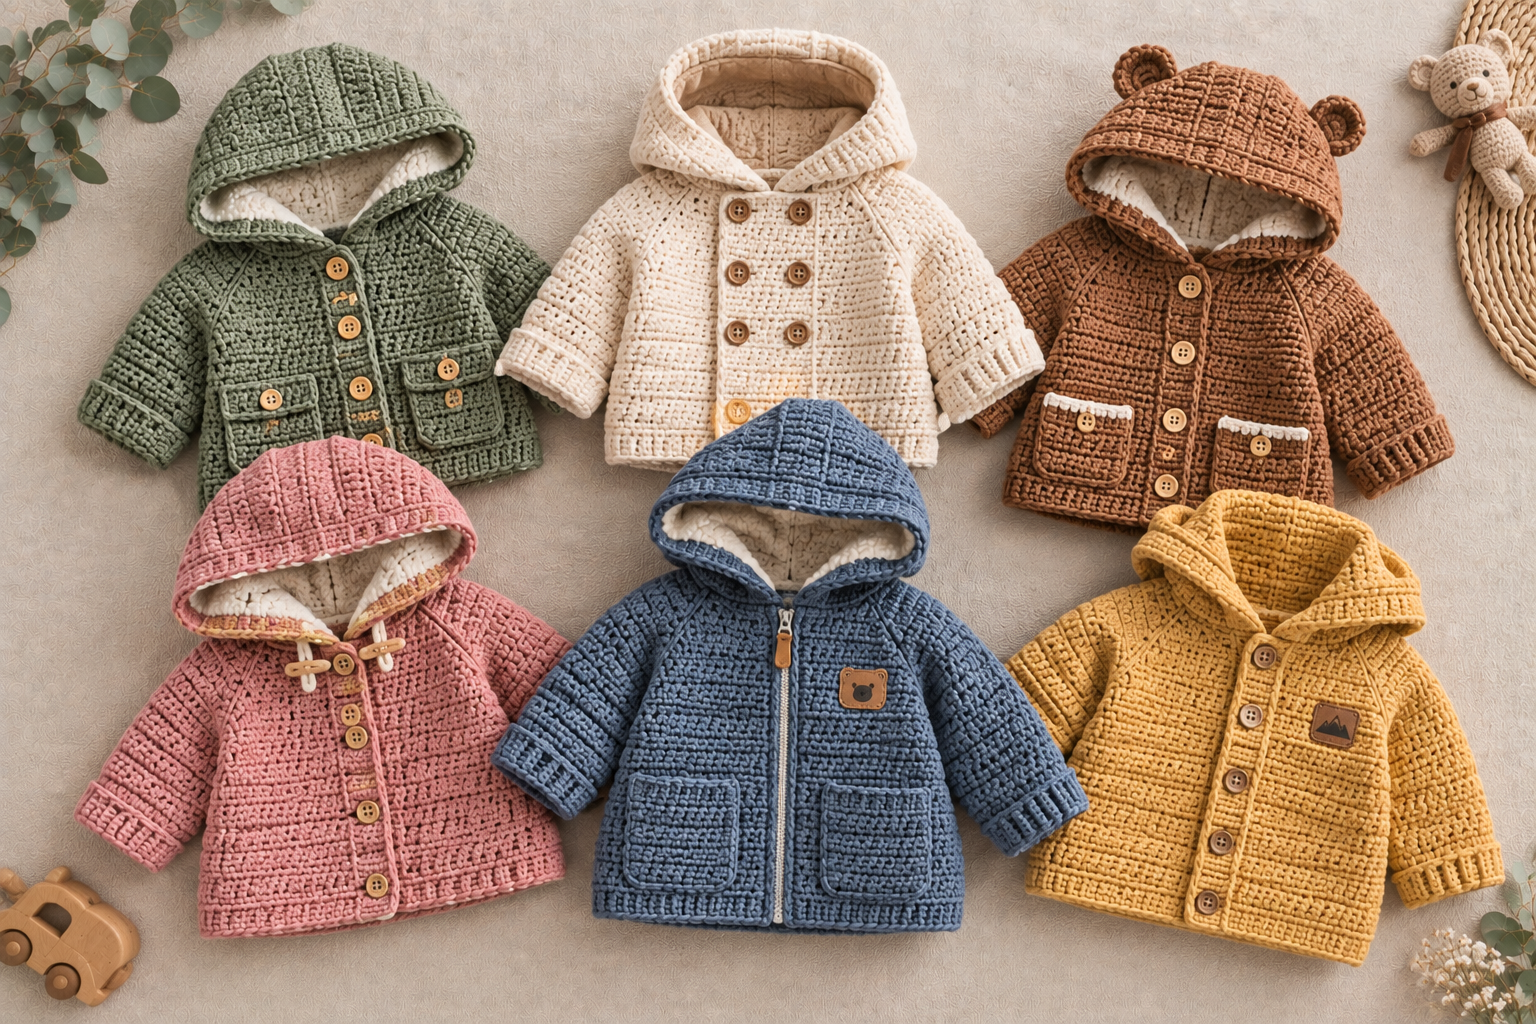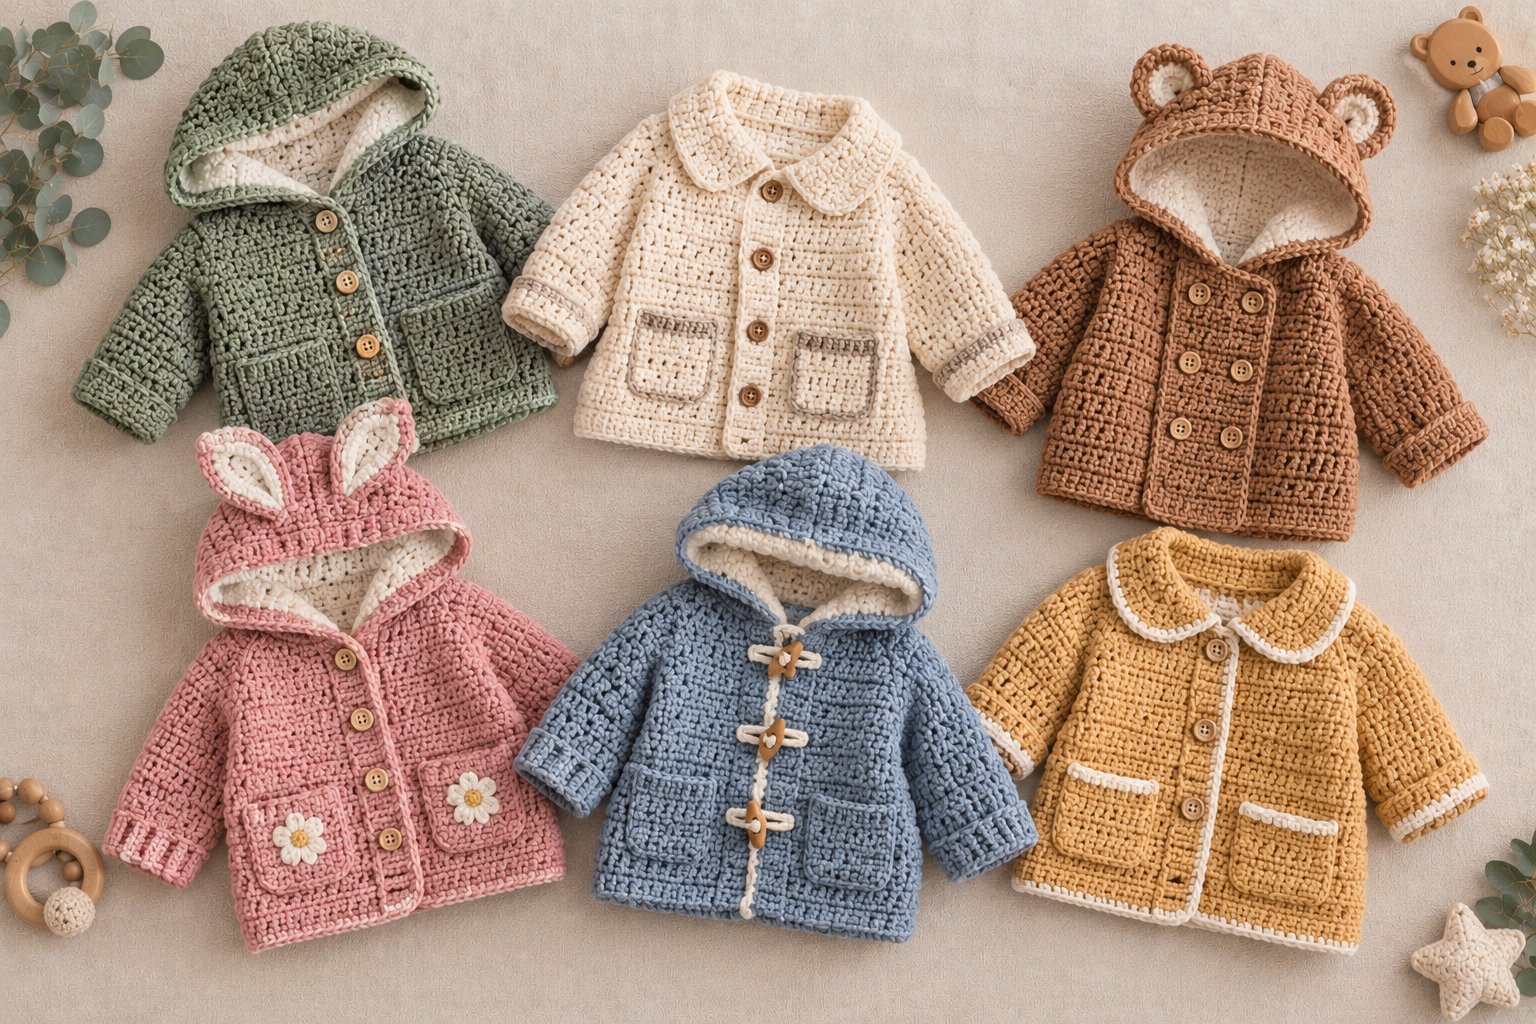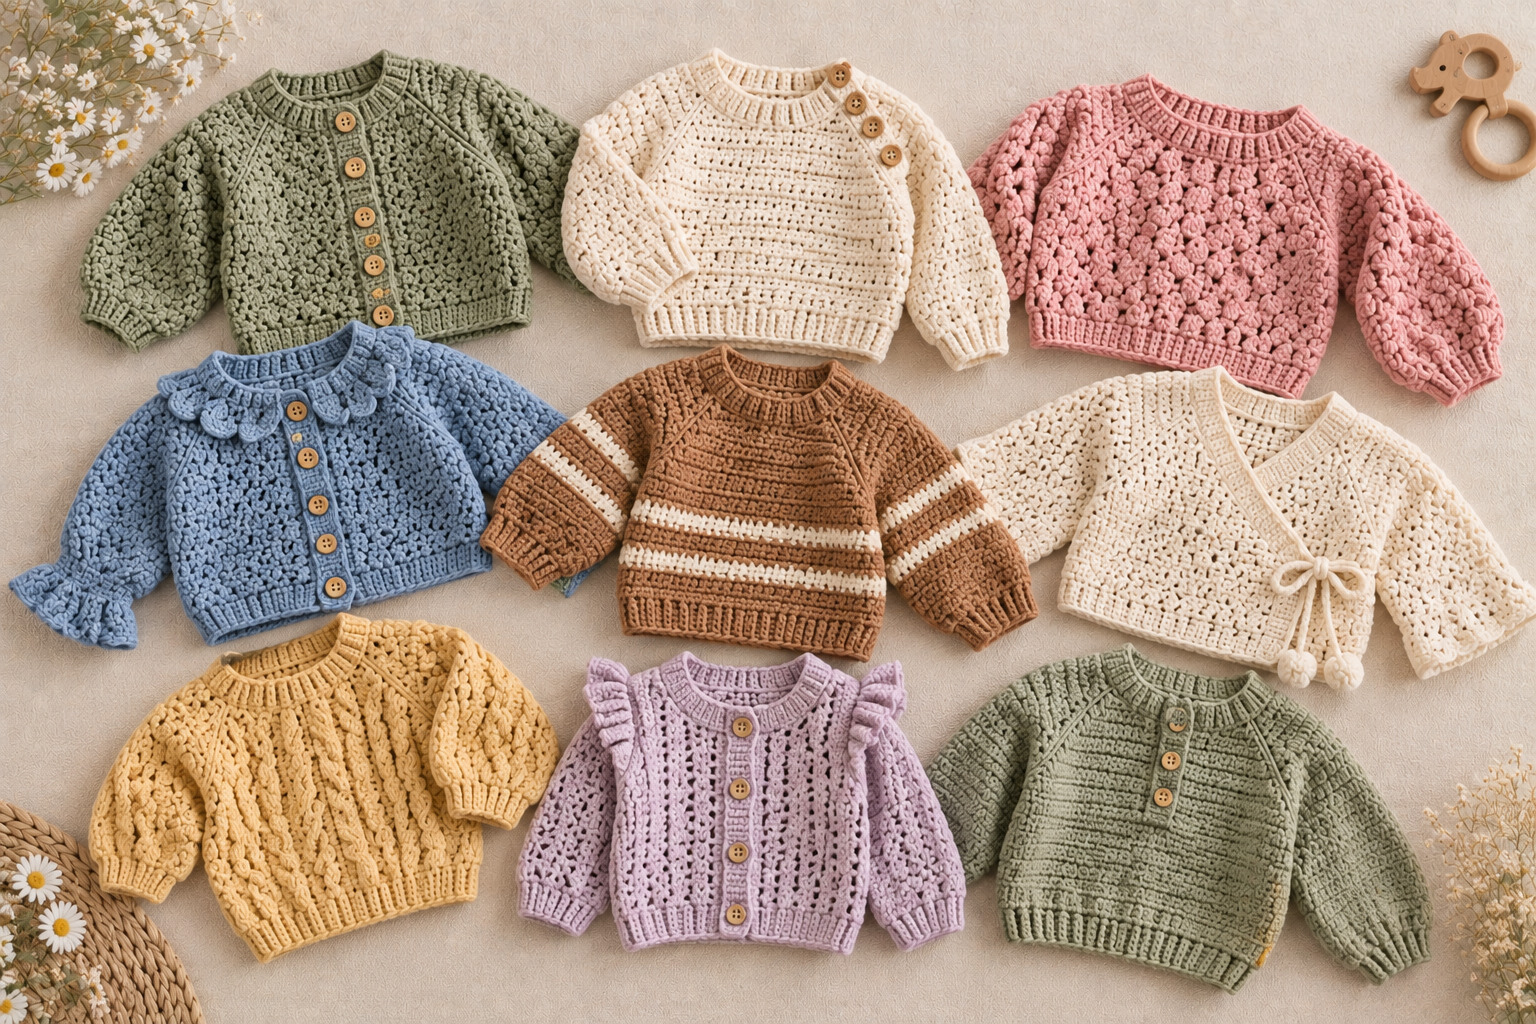
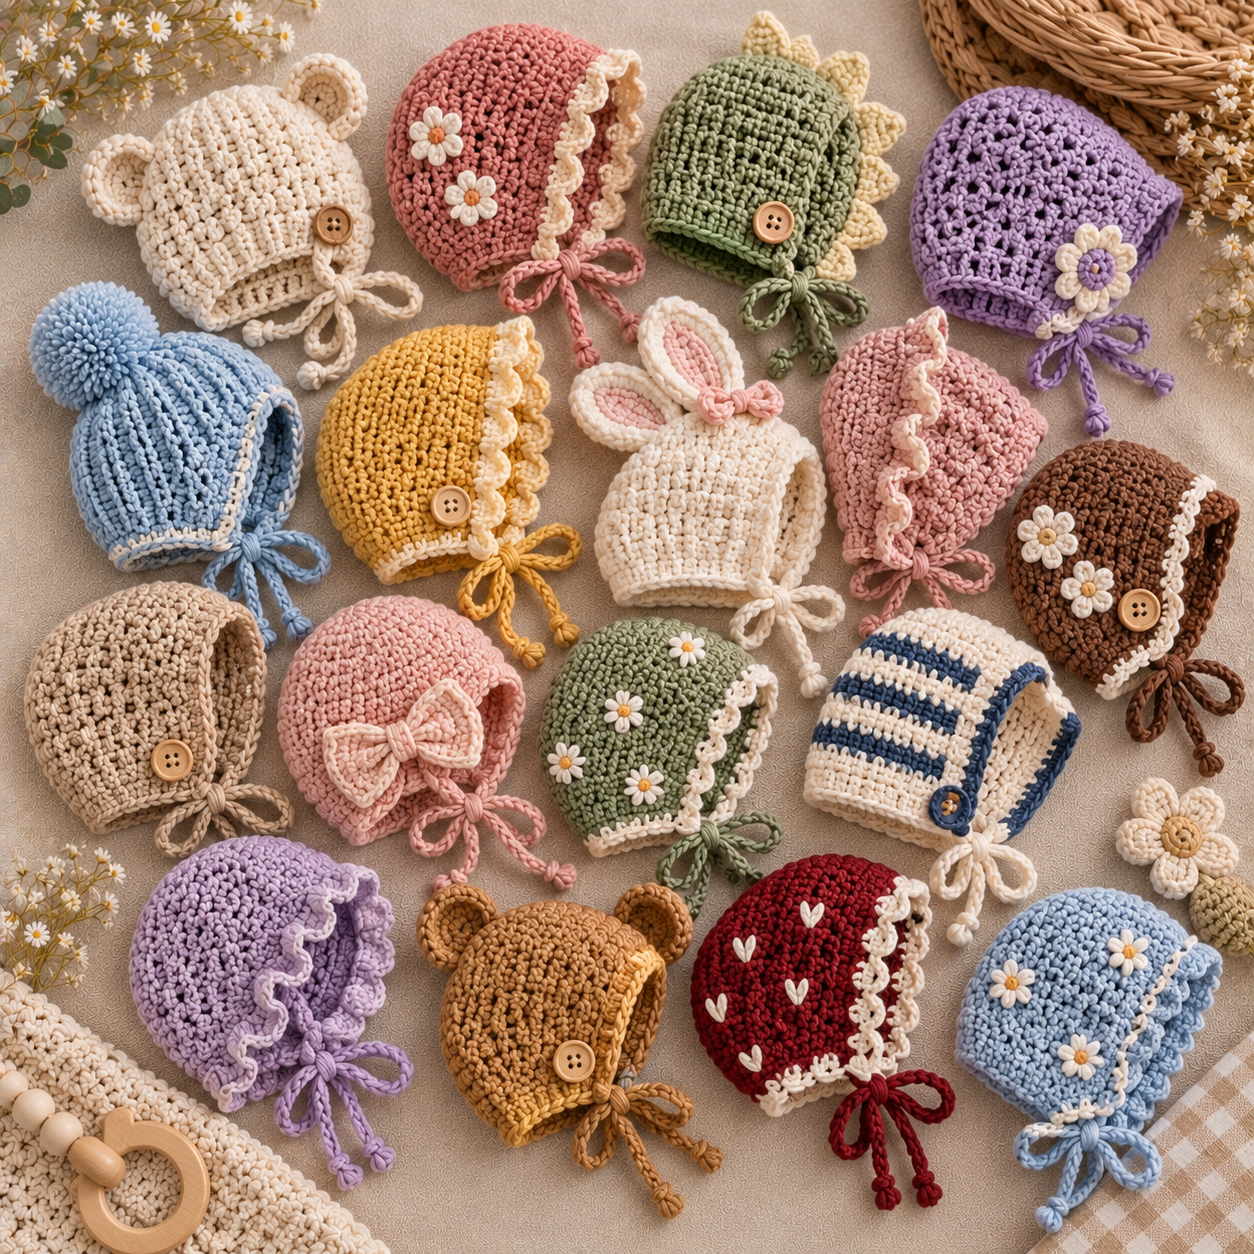
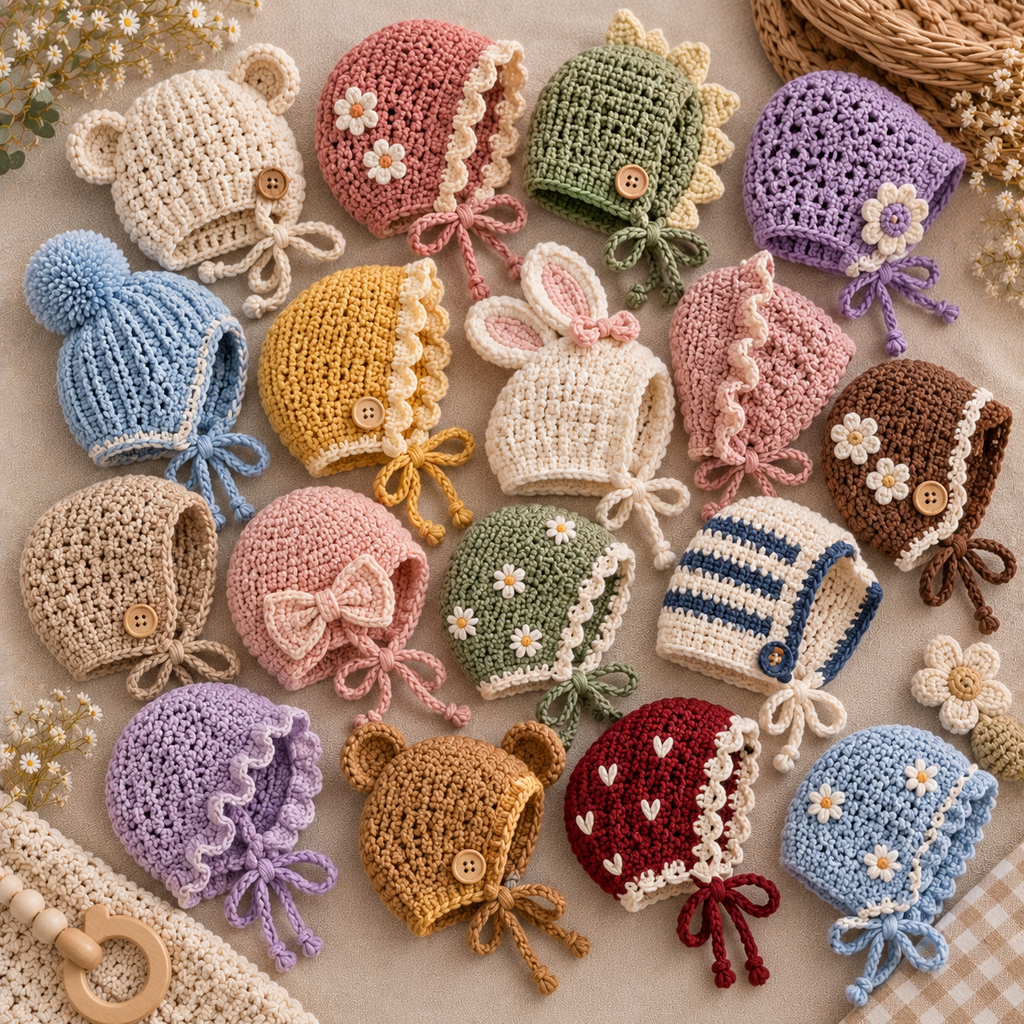
Ties aren’t the only way to keep a bonnet in place, and once you start looking at buttons, drawstrings, and a few structural tricks, the same basic rounded shape opens up in some genuinely different directions. Here are 9 free crochet baby bonnet patterns you’ll love, along with a look at what those alternative closures actually offer.
Beyond Ties: Other Ways to Close a Bonnet
A classic pair of ties knotted under the chin is the most common bonnet closure, but it’s not the only option. A button closure, usually a single button and loop positioned at the back or side, gives a cleaner look and skips the bow entirely, though it takes a bit longer to fasten one-handed than tying a knot. A drawstring, a single cord threaded through a row of small eyelets and cinched to adjust the fit, offers more flexibility across different head sizes than a fixed set of ties, since you can loosen or tighten it as needed rather than retying a knot each time. Each method changes the finished look as much as the function, so it’s worth picking based on both.
9 Crochet Baby Bonnet Patterns to Try
1. The Striped Bonnet
Simple horizontal color changes worked in plain rounds give this bonnet a clean, playful look without any decorative stitch pattern involved. It’s an easy project for using up small amounts of leftover yarn in coordinating colors.
2. The Cable-Trim Bonnet
A single raised, twisted stitch column worked up the center of the crown adds a bit of structured texture to an otherwise plain bonnet. The cable is a nice next step once you’re comfortable with basic bonnet shaping and want to try a slightly more advanced stitch.
3. The Button-Back Bonnet
A single button and crocheted loop positioned at the back of the neck replace the usual tied strings, giving this bonnet a cleaner, more polished closure. It’s a good option if you find tying small bows repeatedly during diaper changes and outfit swaps a bit tedious.
4. The Eyelet Lace Bonnet
A row of small, evenly spaced holes worked around the crown or face opening creates a delicate, airy pattern that’s different from a scalloped or shell-stitch edge. The eyelets can also double as a place to thread a coordinating ribbon if you want extra decoration.
5. The Bell-Shaped Bonnet
Worked with extra flare added toward the bottom edge, this bonnet has a wider, more flared silhouette than a standard fitted crown, giving it a distinctive, old-fashioned bell shape. The flare is created with a few extra increase rounds worked only in the lower portion of the bonnet.
6. The Chunky Knit-Look Beanie
Made with a bulkier yarn and a larger hook, this bonnet has a substantial, cozy look reminiscent of a chunky knit accessory rather than a typical lightweight baby piece. It works up faster than a fine-yarn bonnet despite its heavier appearance, since fewer stitches are needed to cover the same area.
7. The Bobble Trim Bonnet
A row of small, raised bobble stitches worked around the face opening adds a playful, textured border without requiring the whole bonnet to be worked in a heavier stitch. It’s an easy way to dress up a plain crown with just one detailed row.
8. The Adjustable Drawstring Bonnet
A row of small eyelets worked near the face opening lets a single drawstring thread through and cinch the fit, offering more flexibility across sizes than a fixed pair of ties. It’s a practical choice if the bonnet needs to fit a baby across a wider range of ages.
9. The Peekaboo Ear Opening Bonnet
Small, deliberate openings working into the sides of the bonnet near where the ears sit let a bit more sound through and keep the fabric from pressing directly against the ears. It’s a thoughtful option for a baby who seems bothered by a snugger, fully covered bonnet.
Choosing the Right Closure for Your Bonnet
If you’re making a bonnet mainly for photos or short outings, a tied or buttoned closure works well, since both look tidy and don’t need to flex much over time. If the bonnet needs to fit comfortably over several months as the baby grows, a drawstring closure offers the most adjustability without needing an entirely new size.
Common Questions
Is a Button Closure Safe for a Baby Bonnet?
A securely sewn button, checked periodically to make sure it hasn’t loosened, is generally fine for supervised wear, but it’s worth avoiding for a bonnet meant for sleep or unsupervised time, since any small hard object carries some shocking risk if it ever comes free.
How Do I Know Which Closure Method to Choose?
It comes down to how the bonnet will actually be used. Ties and buttons suit short, supervised wear like photos, while a drawstring offers more day-to-day flexibility if the bonnet needs to fit as the baby grows over several months.
How Long Does It Take to Crochet One of These Bonnets?
Most take somewhere between 1 and 3 hours, with the cable-trim and bell-shaped designs generally taking a bit longer because of their added shaping or stitch pattern. The chunky knit-look bonnet finishes fastest despite its heavier appearance, since bulky yarn covers ground quickly.
What Yarn Works Best for These Bonnet Styles?
A soft, machine-washable cotton or cotton-blend yarn suits most of these designs for everyday wear, while a bulkier yarn is specifically needed for the chunky knit-look bonnet to get its substantial, cozy appearance.
How Much Yarn Does a Bonnet Use?
Most of these bonnets use somewhere between 60 and 150 yards of worsted-weight yarn, with the chunky knit-look design using more by weight despite needing fewer total stitches.
Can I Combine a Drawstring With a Decorative Trim Like Bobbles or Cables?
Yes, and it’s an easy way to get both function and detail in one bonnet. Adding a bobble trim or a cable panel to the crown, while keeping the drawstring closure at the face opening, combines two ideas from this list without any conflict between them.
Which Closure Is Easiest for a Beginner to Add?
A simple pair of ties is still the most straightforward option, since it just means leaving a length of chain or a separately crocheted cord at each side. A button closure is only slightly more involved, needing just a small crocheted loop and a securely sewn button, while a drawstring requires spacing eyelets evenly, which takes a bit more planning to get right the first time.
Final Thoughts
Once you move past the classic tied bonnet, there’s a lot of room to play with both closures and texture, from a clean button back to a flared bell shape. Pick whichever combination suits your needs, and you’ll have a genuinely thoughtful little bonnet ready before long.