
Few projects feel as warm and nostalgic as a crochet granny square cardigan. It is colorful, cozy, and completely personal, because no two are ever alike. Best of all, it is built from one of the simplest motifs in crochet, so you do not need advanced skills to make a piece you will wear for years.
This guide walks you through how a granny square cardigan works, how to choose colors and yarn, how to join the squares neatly, and how to avoid the mistakes that trip up most beginners.
Why a Granny Square Cardigan Is So Popular
A granny square cardigan has a lot going for it:
- It is portable. Each square is small, so you can crochet on the bus, on the couch, or during a coffee break.
- It is flexible. You can change the colors, size, and length with ease.
- It uses up yarn. Leftover skeins turn into a stunning patchwork.
- It is forgiving. Small differences between squares blend into the overall design.
- It looks unique. Your color choices make the cardigan one of a kind.
How a Granny Square Cardigan Is Built
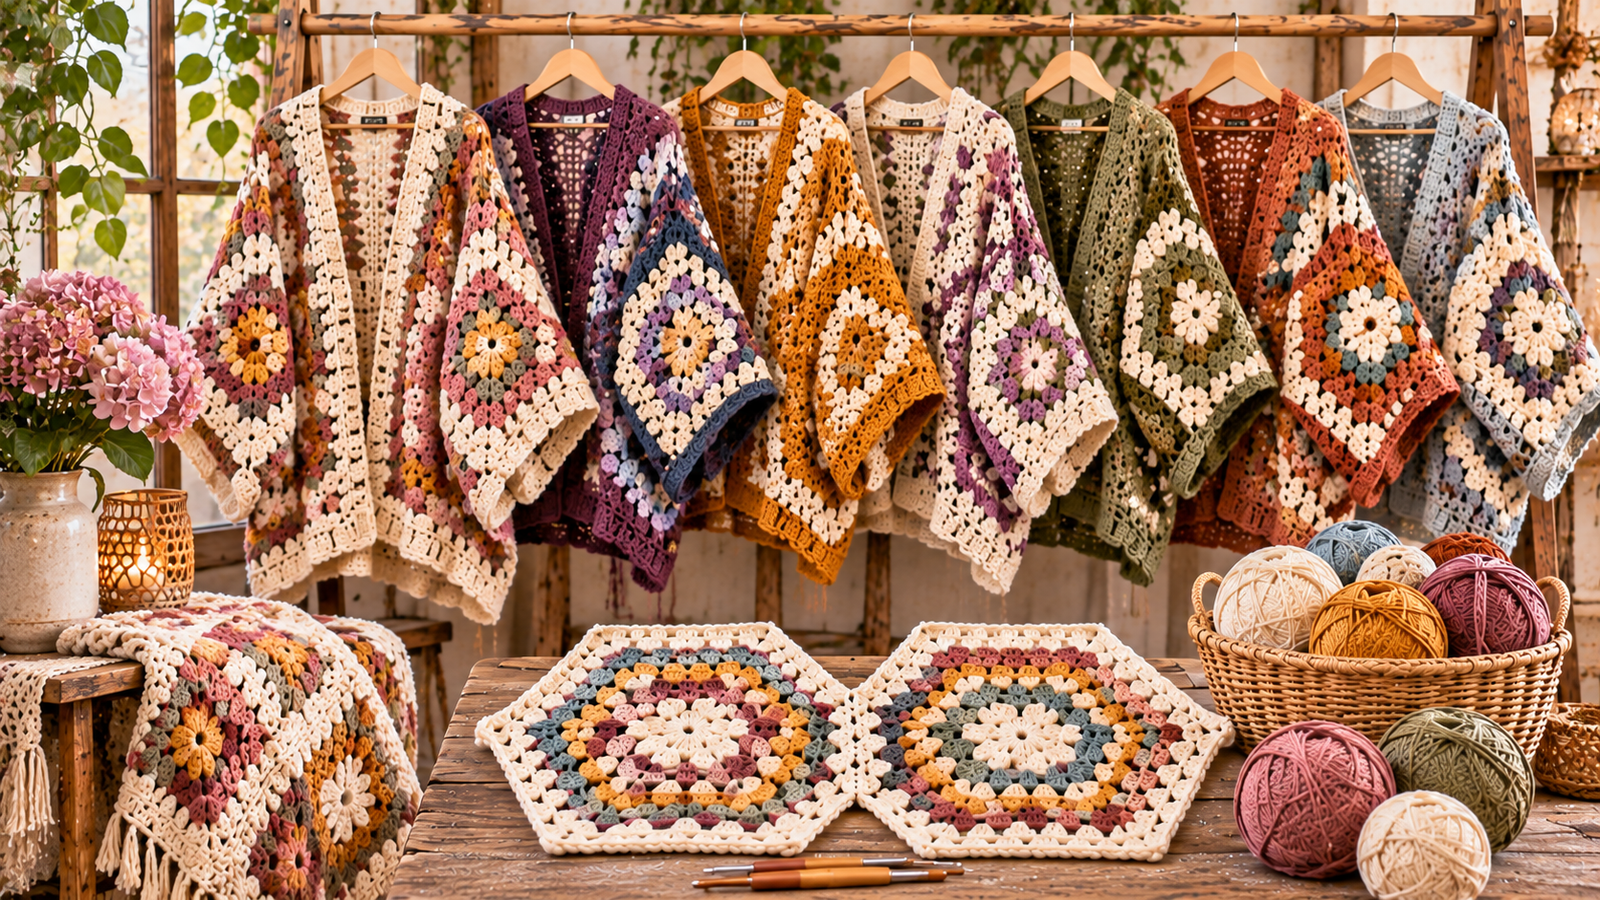
Most granny square cardigans follow the same basic idea. You make a set of identical squares, then join them into panels for the back, the two fronts, and the sleeves. Some designs use full-sized squares for the body and half squares to shape the edges. Others skip the sleeves entirely and make a vest-style layer.
Before you begin, read your crochet granny square cardigan pattern all the way through. Check how many squares you need, how they are arranged, and what the finished measurements will be.
Choosing Your Yarn
Yarn changes the character of your cardigan more than almost any other decision.
- Cotton: crisp and breathable, great for spring and summer, and it shows off stitch detail.
- Acrylic: budget friendly, soft, and easy to wash, with a huge range of colors.
- Wool or wool blends: warm and elastic, ideal for autumn and winter layers.
Whichever you pick, use the same yarn weight and brand across all your squares, so they stay the same size and texture.
Picking a Color Palette
Color is the soul of a granny square cardigan. Here are a few approaches that work well:
- Classic rainbow: bright and cheerful, perfect for a retro look.
- Soft pastels: gentle and sweet, great for a calm, dreamy cardigan.
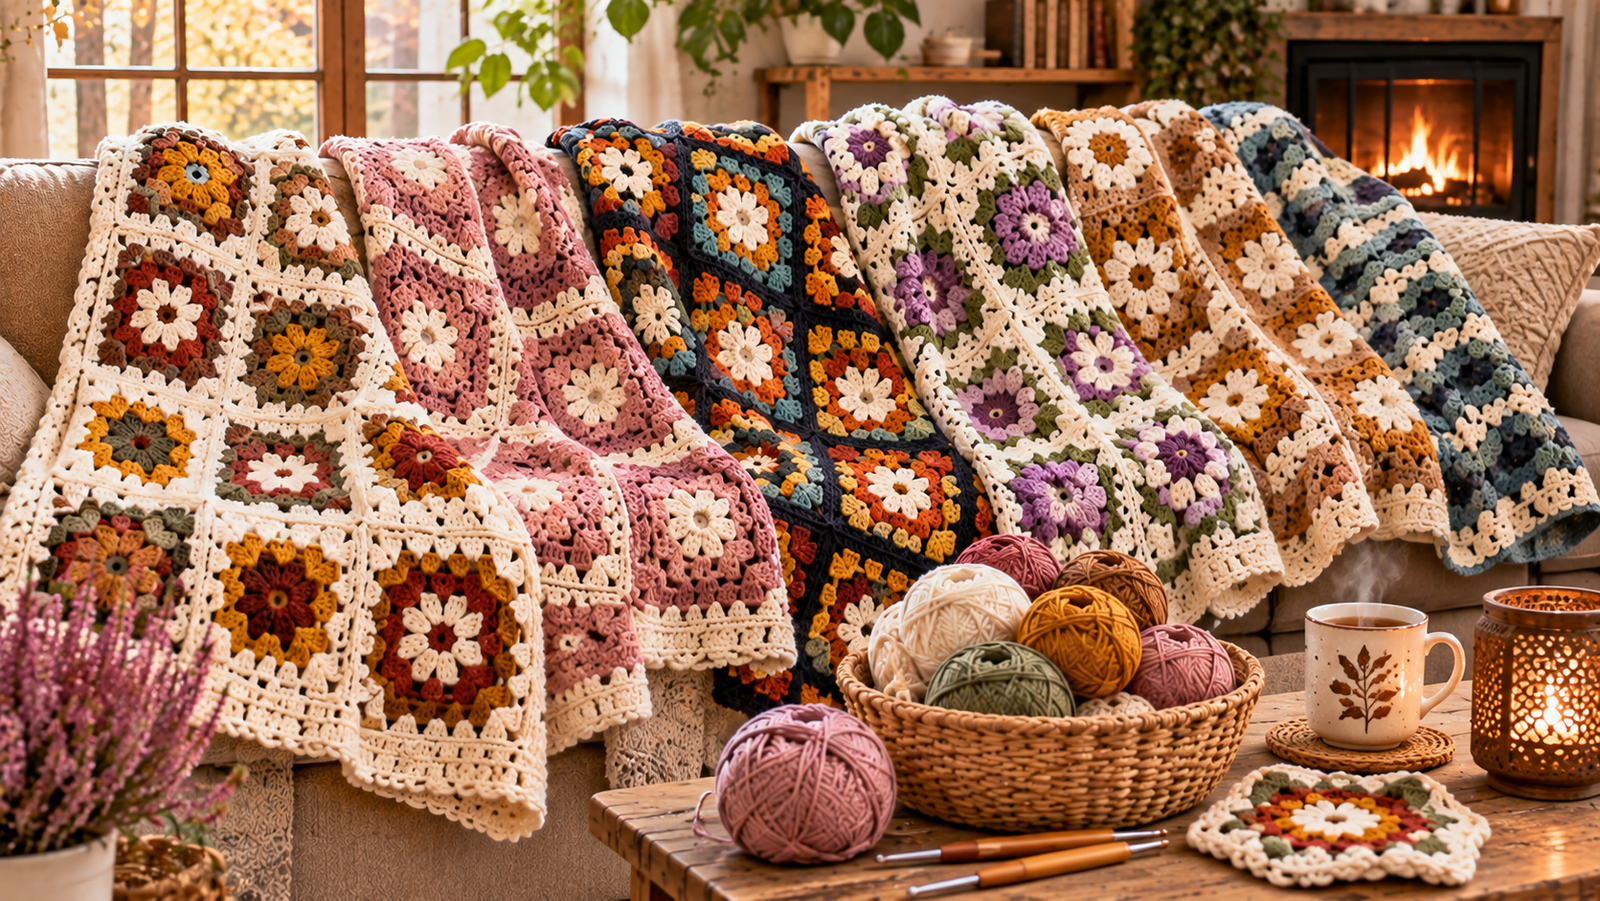
- Earthy tones: mustard, rust, olive, and cream for a cozy, vintage feel.
- Neutral with one accent: cream squares with a single pop color for a modern finish.
- One color with a contrast border: every square in the same shade, with the final round in a second color.
Lay out your squares on the floor before joining them. Moving them around lets you spread colors evenly and avoid clumps.
Making Consistent Squares
The key to a neat cardigan is squares that are all the same size. Try these habits:
- Work a gauge swatch and measure your first finished square.
- Keep your tension even from the first round to the last.
- Block every square the same way, either with steam or by pinning them damp to a board.
- Measure a few squares along the way to catch size drift early.
How to Join Granny Squares
The joining method affects both the look and the feel of the cardigan. Here are three popular choices:
- Whip stitch: sew squares together with a yarn needle. It is flat and discreet.
- Slip stitch join: crochet the squares together on the wrong side for a firm seam.
- Join as you go: connect the squares while making the last round, which saves time on finishing.
Pick one method and stay with it. Mixing joins can make the fabric look uneven.
Shaping the Sleeves and Neckline
Some patterns use squares for the sleeves too, creating a boxy, relaxed shape. Others work the sleeves from the armhole opening in rounds or rows for a more fitted look. A simple V-neck can be made by leaving a gap between the front panels, and a border worked around the opening adds a tidy edge.
A pattern with clear diagrams makes this part much easier. Look for a layout chart that shows where each square goes.
Adding a Border and Finishing Touches
A border pulls everything together. Work a few rounds of single or double crochet around the hem, the cuffs, and the front edges. Choose a solid color that ties your palette together, such as cream, charcoal, or navy.
Finally, weave in every end securely. Granny square cardigans have a lot of them, so weave in a few at a time while you work, rather than leaving them all until the end.
Common Mistakes to Avoid
- Skipping the swatch. This is how a cardigan ends up too small or too large.
- Running short on yarn. Buy extra and keep one skein of each color for repairs.
- Uneven squares. Measure and block them as you go.
- Rushing the joins. Take your time, because neat seams make a big difference.
- Forgetting the weight. Many squares add up, so choose a lighter yarn if you want a drapey cardigan.
Caring for Your Cardigan
Wash it gently in cool water, press out excess water with a towel, and lay it flat to dry. Avoid hanging it while wet, since the weight of the squares can stretch it. Store it folded to keep the shape.
Final Thoughts
A crochet granny square cardigan is one of the most rewarding wearables you can make. It teaches you new skills, uses up your stash, and gives you a colorful piece that feels like a hug. Choose a palette you love, make your squares with care, and take your time with the joins. Before long you will have a handmade cardigan that is entirely yours. For more ideas, explore our other crochet cardigan collections and find your next project.