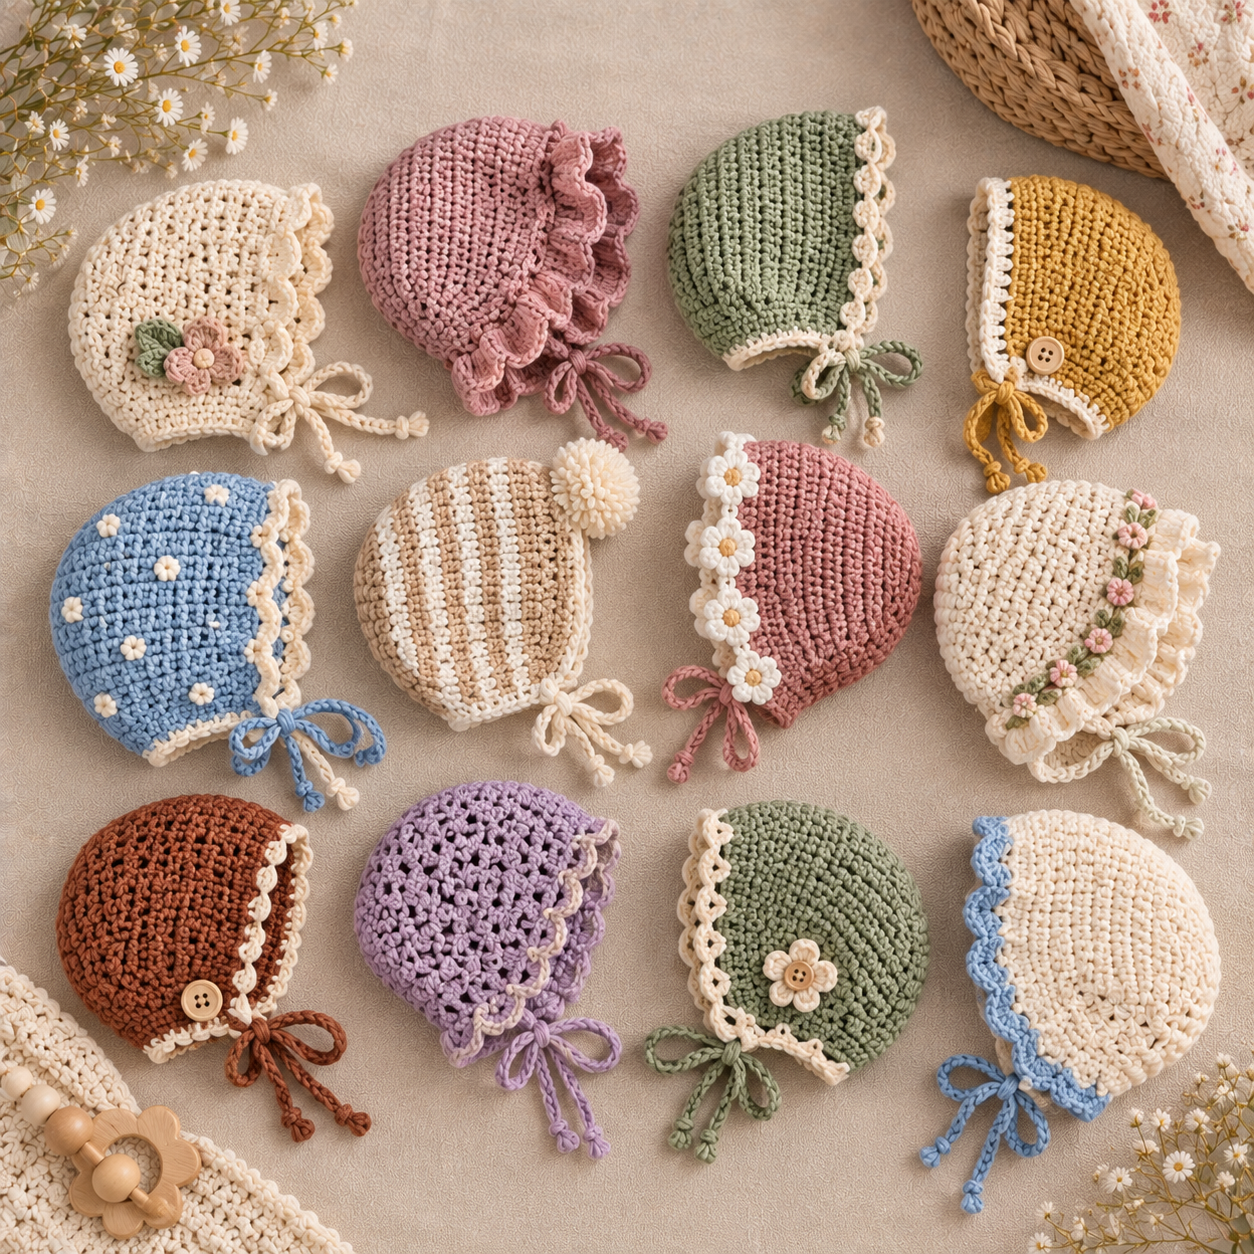
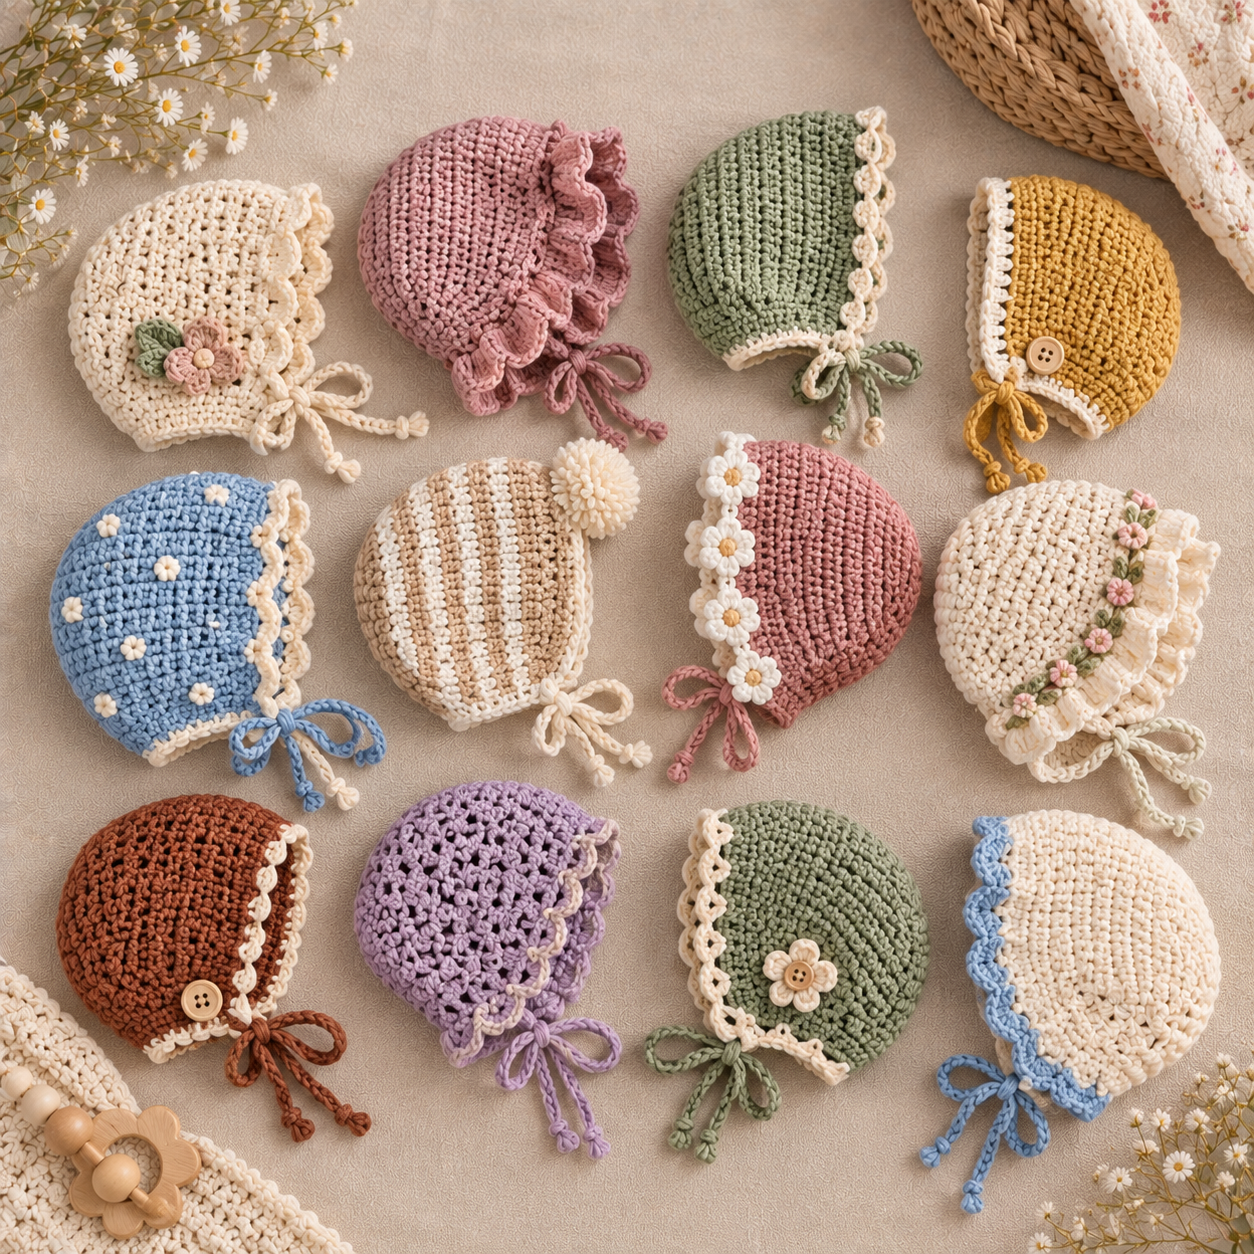
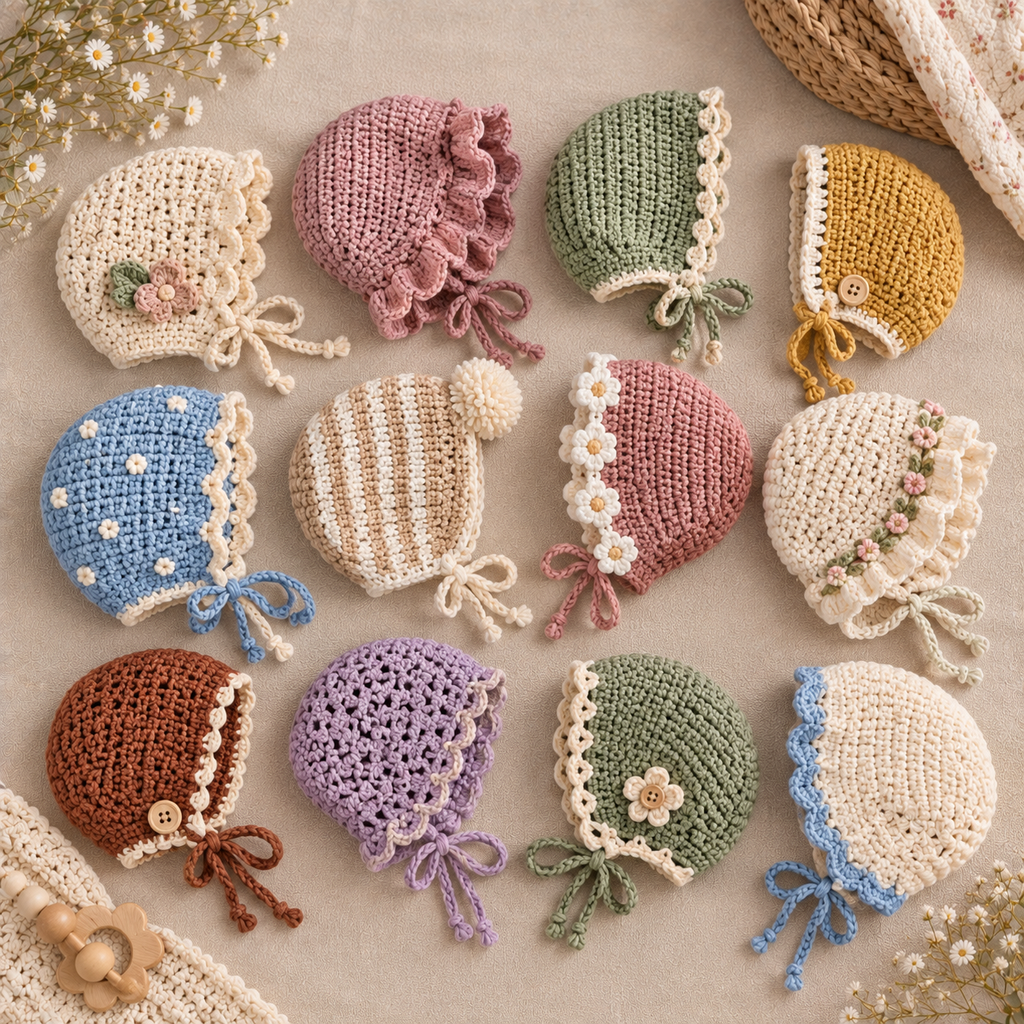
A bonnet’s charm comes down to a handful of small finishing details layered onto the same basic rounded crown, whether that’s a ruffled edge, a contrast color, or a delicate lace trim. Here are 7 crochet baby bonnet patterns to try, along with a look at how tie construction affects both comfort and safety.
How Bonnet Ties Are Built
Most bonnets attach their ties in one of two ways. A single continuous string worked from one side of the bonnet, under the chin, and up to the other side gives a clean, minimal look but offers less adjustability once it’s tied. Two separate ties, each worked or attached at one side and knotted together under the chin, are more common, since they’re easier to loosen or tighten and simpler to replace if one gets worn or pulled loose. Whichever method you use, a thinner, softer tie is more comfortable against a baby’s neck than a thick, stiff cord, and any bonnet with ties should be reserved for short, supervised wear rather than sleep or unexpected time.
7 Crochet Baby Bonnet Patterns to Try
1. The Lace-Trim Bonnet
A narrow band of open, decorative stitches worked around the face opening gives this bonnet a delicate, dressed-up look without changing the main body of the design. The lace trim is the only added detail, so the rest of the bonnet stays simple and quick to finish.
2. The Two-Tone Contrast Beanie
A crown worked in one color paired with a brim or trim worked in a contrasting shade gives this bonnet a clean, graphic look that’s easy to match to a specific outfit. It’s a straightforward way to add visual interest without any new stitches to learn.
3. The Ruffled Brim Bonnet
Extra stitches worked into the edge of the face opening create a soft, gathered ruffle that frames the face more dramatically than a plain or lightly scalloped edge. Getting the ruffle to lie evenly rather than bunching up in one spot takes a bit of practice with your increase placement.
4. The Pom-Pom Tie Bonnet
Rather than a plain knotted tie, this design finishes each string with a small, soft pom-pom, adding a playful detail that also makes the ties easier to grip when tying and untying. The pom-poms are made separately and attached to the tip of each string.
5. The Waffle Stitch Bonnet
A grid of small raised bumps worked across the crown adds texture and a bit of extra warmth compared to a flat stitch. It’s a good project for practicing a slightly more involved stitch pattern while keeping the overall bonnet shape simple.
6. The Floral Applique Bonnet
A small, separately crocheted flower motif attached just off-center on the crown or near one tie adds a sweet, feminine detail to an otherwise plain bonnet. The flower is a quick piece on its own, so it doesn’t add much time to the base pattern.
7. The Heirloom Lace Bonnet
Worked in a fine thread rather than standard yarn, with an openwork stitch pattern throughout, this bonnet has a delicate, special-occasion look suited to a christening or a formal family photo. The finer thread and smaller hook take more time and patience than a standard worsted-weight bonnet.
Getting Fit and Comfort Right
A bonnet that’s too snug can leave marks or feel restrictive around a baby’s head, while one that’s too loose won’t stay in place even with ties, so it’s worth checking your gauge swatch against an actual head measurement before committing to the full crown. For the ties specifically, keeping them long enough to tie a simple bow rather than a tight double knot makes them easier to remove quickly if needed.
Common Questions
Are Bonnet Ties Safe for Everyday Wear?
Ties are best reserved for short, supervised periods, like a photo session or an outing, rather than everyday wear or sleep, since any cord around the neck area carries a strangulation risk for an unattended baby. For daily wear, a snug, tie-free beanie is generally the safer choice.
What’s the Difference Between a Single Tie and Two Separate Ties?
A single continuous tie worked across the chin gives a cleaner look but is less adjustable once tied, while two separate ties knotted together are easier to loosen, tighten, or replace individually if one wears out. Most modern bonnet patterns use the two-tie method for that added flexibility.
How Long Does It Take to Crochet a Bonnet?
Most of these designs take somewhere between 1 and 3 hours, with the heirloom lace bonnet generally taking longer because of its finer thread and more detailed stitch pattern. A plain two-tone bonnet finishes fastest, since it relates mainly on a simple color change.
What Yarn Works Best for a Baby Bonnet?
A soft, machine-washable cotton or cotton blend suits most everyday bonnets well, while a fine crochet thread is better suited to a delicate heirloom design meant for a special occasion rather than daily wear.
How Much Yarn Does a Bonnet Use?
Most bonnets use somewhere between 60 and 150 yards of worsted-weight yarn, depending on size and any added trim. A heirloom lace bonnet worked in fine thread will use less yarn by weight but take considerably more time to finish.
Can I Add a Ruffle or Lace Trim to a Plain Bonnet Pattern I Already Have?
Yes, in most cases. Since both details are typically added as a final round or two worked around the face opening, you can usually add either one to an existing plain bonnet pattern without changing the main body of the design.
Should Beginners Start With a Lace or Textured Bonnet?
Neither is a bad choice, but a textured design like the waffle stitch bonnet is generally more forgiving for a first attempt than an open lace pattern, since a dense stitch hides small tension inconsistencies better than an airy, open one does. Save the heirloom lace bonnet for once you’re comfortable reading a more detailed stitch pattern.
Can I Make a Matching Set With a Bonnet and Booties?
Yes, and it’s a popular way to round out a baby gift. Using the same yarn and a coordinating trim, like a matching ruffle or contrast color, across a bonnet and a pair of booties ties the set together without needing to design anything new.
Final Thoughts
A bonnet’s appeal comes from how much personality a few small details, a ruffle, a trim, a pop of contrast color, can add to the same basic rounded shape. Pick whichever style suits the occasion, and you’ll have a genuinely sweet little bonnet ready before long.