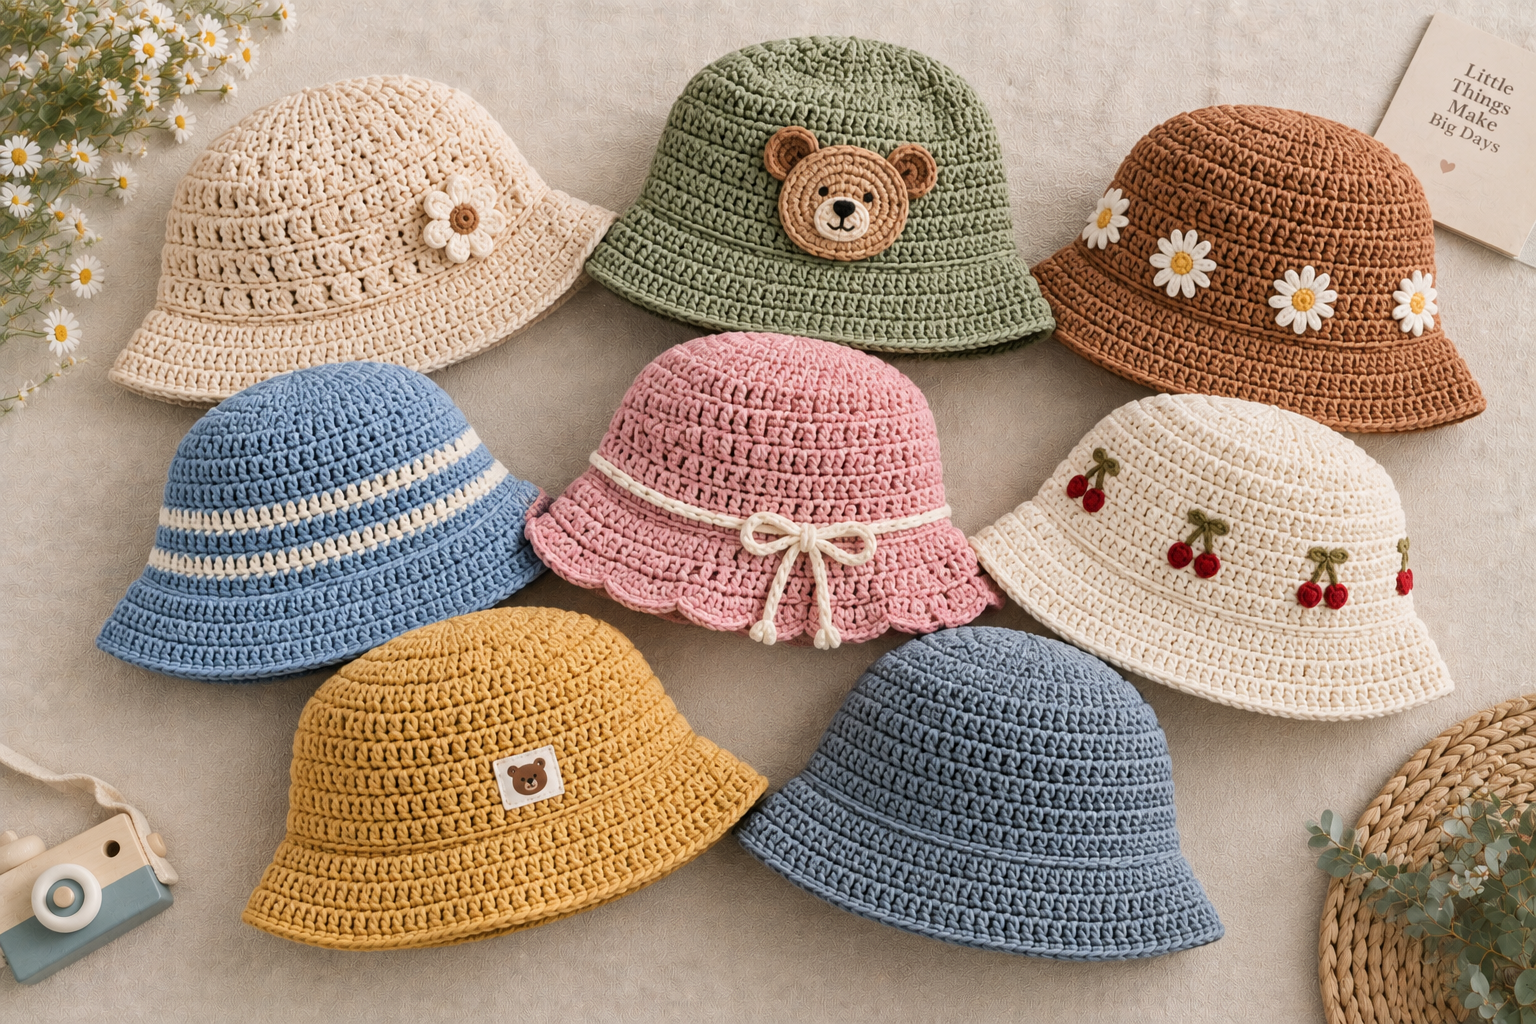
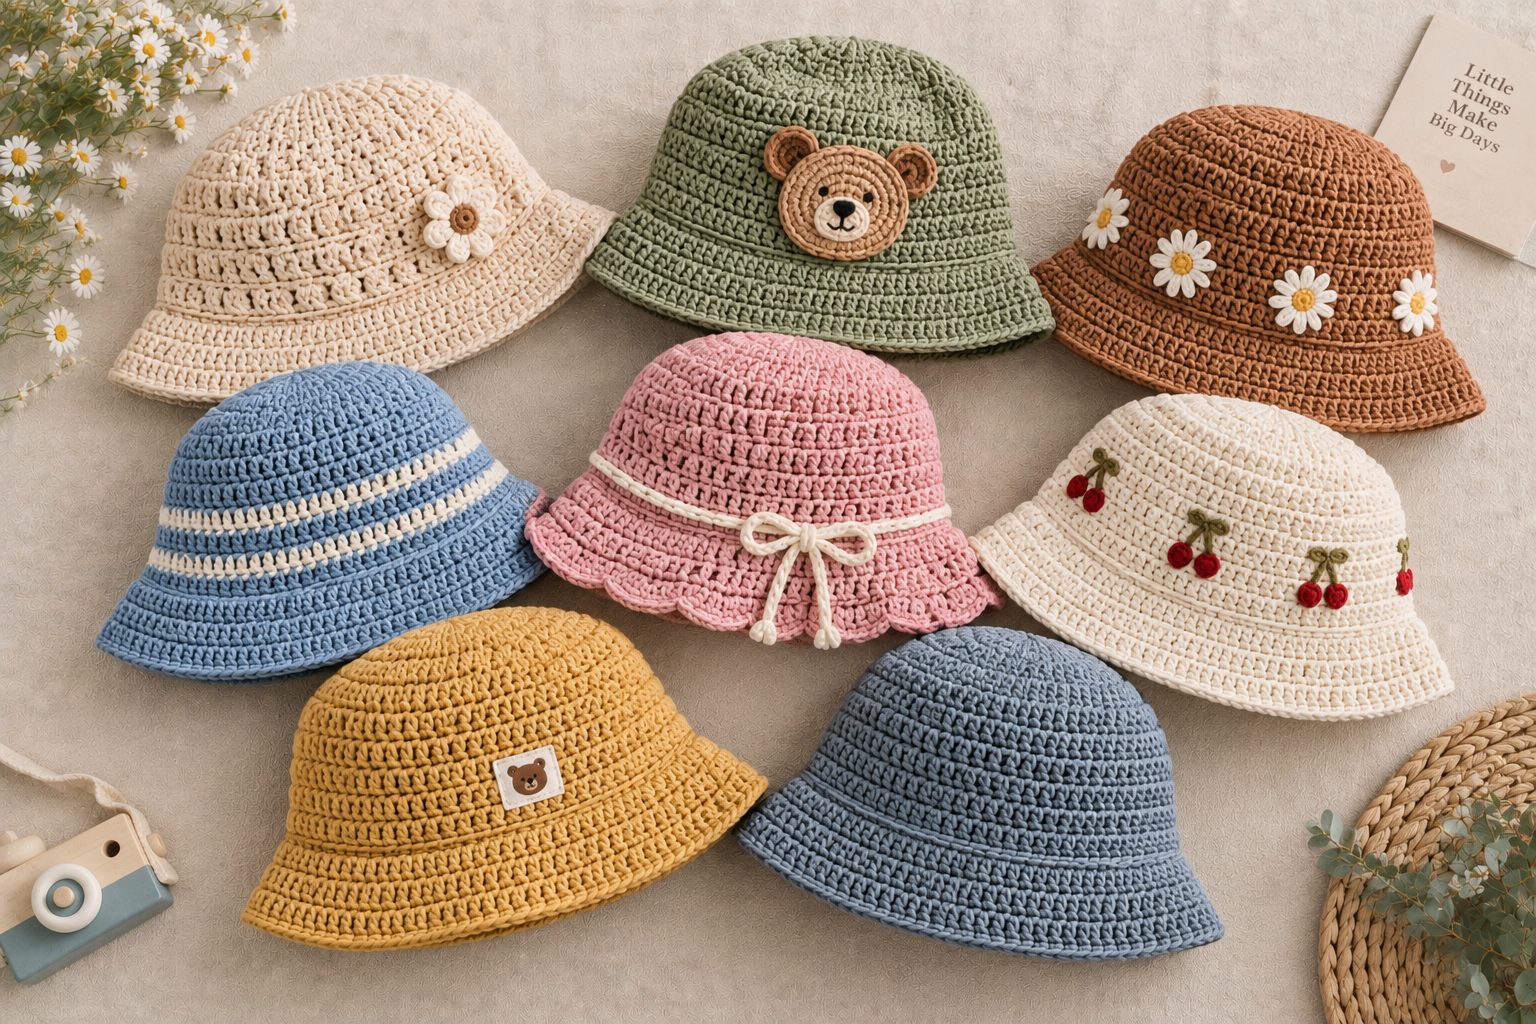
A crochet bucket hat has more structure than a typical beanie, which makes it a satisfying next step once you’re comfortable with basic hat construction. It also happens to be one of the most fashion-forward things you can crochet, since bucket hats have stayed in steady style rotation for years. Here are 8 free bucket hat crochet patterns worth trying, along with tips for getting that brim to hold its shape.
How a Bucket Hat Is Built
A bucket hat has three distinct parts: a flat crown at the top, a straight or slightly angled side panel, and a brim that flares outward at the bottom. That’s different from a beanie, which is really just a crown and a straight body with no flared brim at all. The crown is usually worked the same way a beanie’s would be, in rounds with regular increases, but the brim needs extra increases of its own to flare outward instead of continuing straight down.
8 Free Bucket Hat Crochet Patterns to Try
1. The Classic Solid Bucket Hat
A plain, single-color bucket hat worked in a basic stitch throughout. It’s the most straightforward version on this list and a good starting point if you’ve never made a brimmed hat before.
2. The Granny Stripe Bucket Hat
Worked in rows of double crochet with regular color changes, this bucket hat turns a familiar construction into something colorful and playful. It’s also an easy way to use up smaller amounts of yarn in different colors.
3. The Reversible Two-Tone Bucket Hat
Made so both the inside and outside look equally finished, this style lets you flip the hat depending on which color you want showing that day. It takes a bit more planning during construction, but the payoff is genuine versatility from a single hat.
4. The Textured Waffle Stitch Bucket Hat
A grid of small raised bumps across the fabric gives this bucket hat noticeably more texture than a flat stitch would. The added structure from the textured stitch also helps the brim hold its shape a little better on its own.
5. The Wide-Brim Sun Bucket Hat
This version extends the brim further out than a standard bucket hat, prioritizing sun coverage over a close, casual fit. It’s a practical warm-weather project, especially in a lightweight, breathable yarn.
6. The Mesh Summer Bucket Hat
Built from an open, airy stitch pattern rather than a solid one, this bucket hat trades a bit of structure for breathability. It’s a good choice for hot weather, when a dense, solid hat would trap too much heat.
7. The Color-Block Bucket Hat
Rather than stripes, this style uses larger solid blocks of color, often one for the crown, one for the sides, and one for the brim. It’s a bold, graphic look that’s simple to execute, since each section just changes color once.
8. The Kids’ Bucket Hat
A smaller-scale version of the classic bucket hat, sized to fit a child’s head. Because it uses less yarn and fewer rounds than an adult version, it’s also one of the faster projects on this list to finish.
Choosing Which Style to Start With
If you’ve never made a bucket hat before, the classic solid version is the easiest way to focus entirely on learning the crown, side, and brim shaping without also managing color changes or an unfamiliar stitch. Once that basic construction feels comfortable, the granny stripe or color-block versions are simple ways to add visual interest without changing anything about the shaping itself. Save the reversible or mesh styles for after you’ve made at least one standard bucket hat, since both ask you to think a little differently about how the stitches behave.
Tips for a Brim That Holds Its Shape
A bucket hat’s brim is the part most likely to flop instead of standing out the way you want it to, and a few things help with that. A firmer, less stretchy fiber, like cotton, generally holds its shape better than a soft, drapey acrylic or wool. Working the brim in a slightly denser stitch than the crown, like single crochet instead of double crochet, also adds structure. And if you want extra insurance, a light fabric stiffener applied to just the brim after blocking can help it hold a crisp, flared shape.
Common Questions
How Do I Keep the Brim from Flopping Down?
Choosing a firmer yarn, like cotton or a cotton blend, and working the brim in a denser stitch are the two most effective changes you can make. If the brim still feels too soft after finishing, a fabric stiffener applied and left to dry flat is a reliable fix.
What’s the Easiest Way to Size a Bucket Hat?
Measure the wearer’s head circumference and compare it to your gauge swatch before starting, the same way you would for a beanie. The main extra consideration for a bucket hat is deciding how deep you want the side panel and how wide you want the brim, both of which are easy to adjust by adding or removing rounds.
How Long Does It Take to Crochet a Bucket Hat?
Most adult bucket hats take somewhere between 3 and 6 hours, a bit longer than a basic beanie because of the extra brim shaping involved. A kids’ sized version, or a hat worked in a bulkier yarn, will generally finish faster.
What Yarn Works Best for a Bucket Hat?
A sturdy cotton or cotton-blend yarn is usually the best choice, since it holds its shape well and doesn’t stretch out of form the way some other fibers can. Worsted weight is the most common starting point, though a lighter weight works well for the mesh or wide-brim sun hat styles above.
How Much Yarn Does a Bucket Hat Use?
Most adult bucket hats use somewhere between 150 and 300 yards of worsted-weight yarn, a bit more than a basic beanie because of the extra fabric in the brim and deeper side panel. A wide-brim sun hat will typically sit toward the higher end of that range, while a kids’ sized hat uses noticeably less.
Can I Add a Drawstring or Chin Tie to a Bucket Hat?
Yes. A simple crocheted chain or a length of cord threaded through small gaps left along the inside of the crown can be added after the main hat is finished, giving it a way to cinch snugly if it ever feels loose. This is a common addition for kids’ bucket hats especially, since it helps the hat stay on during active play.
Final Thoughts
A bucket hat brings a bit more structure and style to a hat pattern than a basic beanie, while still staying approachable once you understand the three-part construction. Pick a style from this list, choose a sturdy yarn, and you’ll have a finished hat with real shape and staying power.