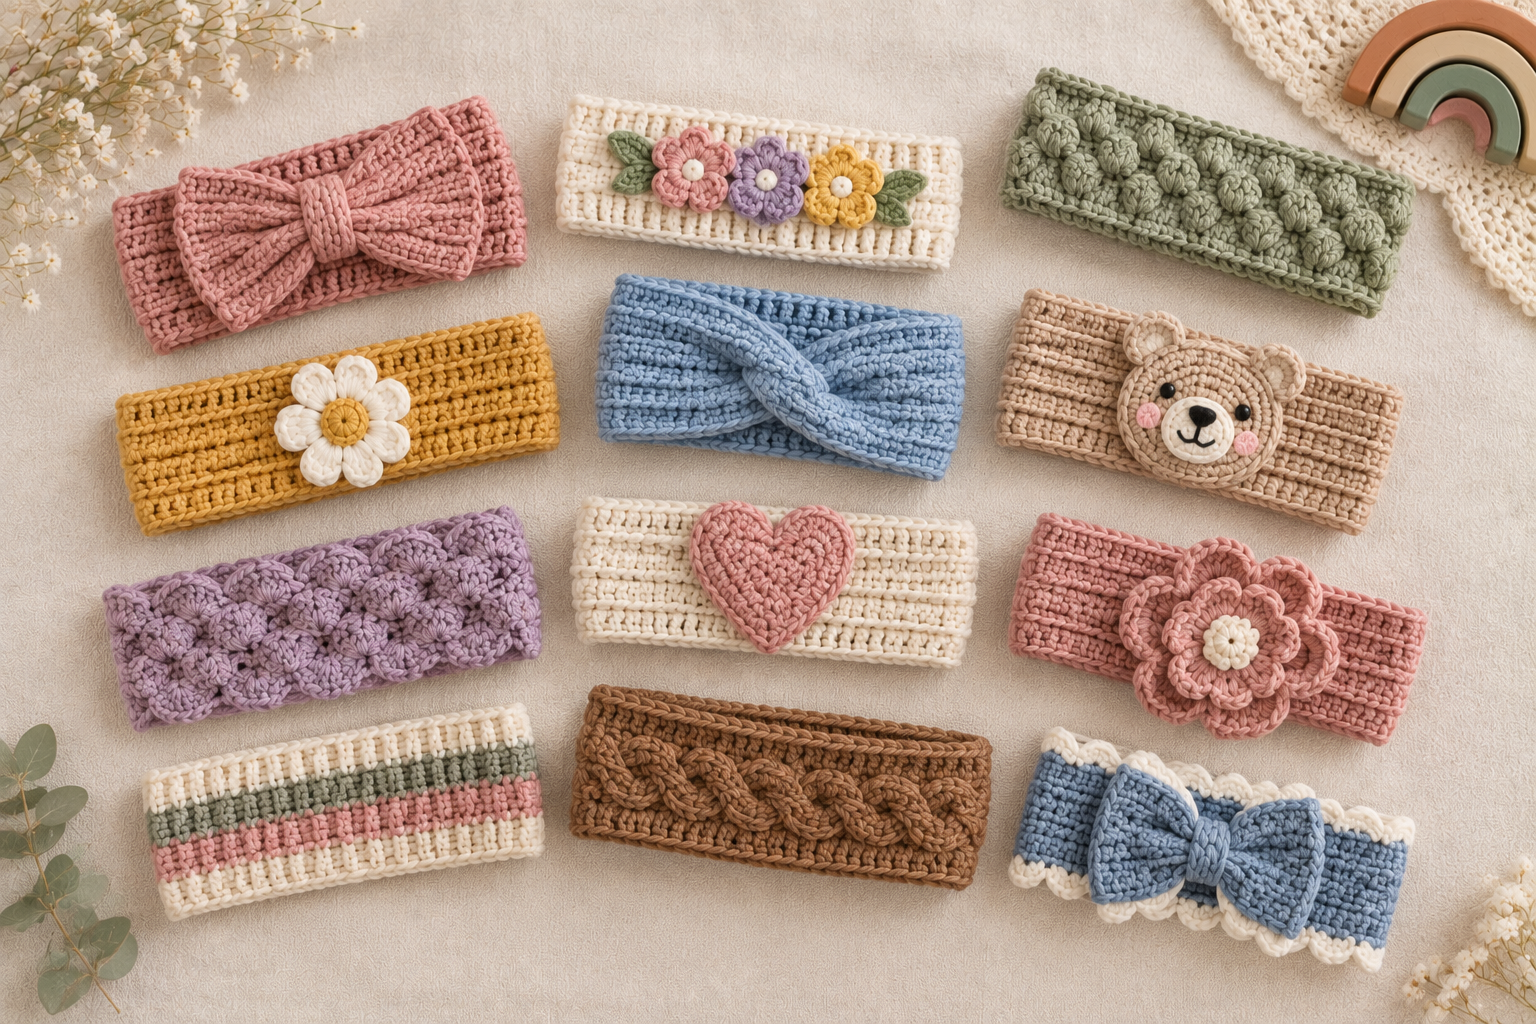
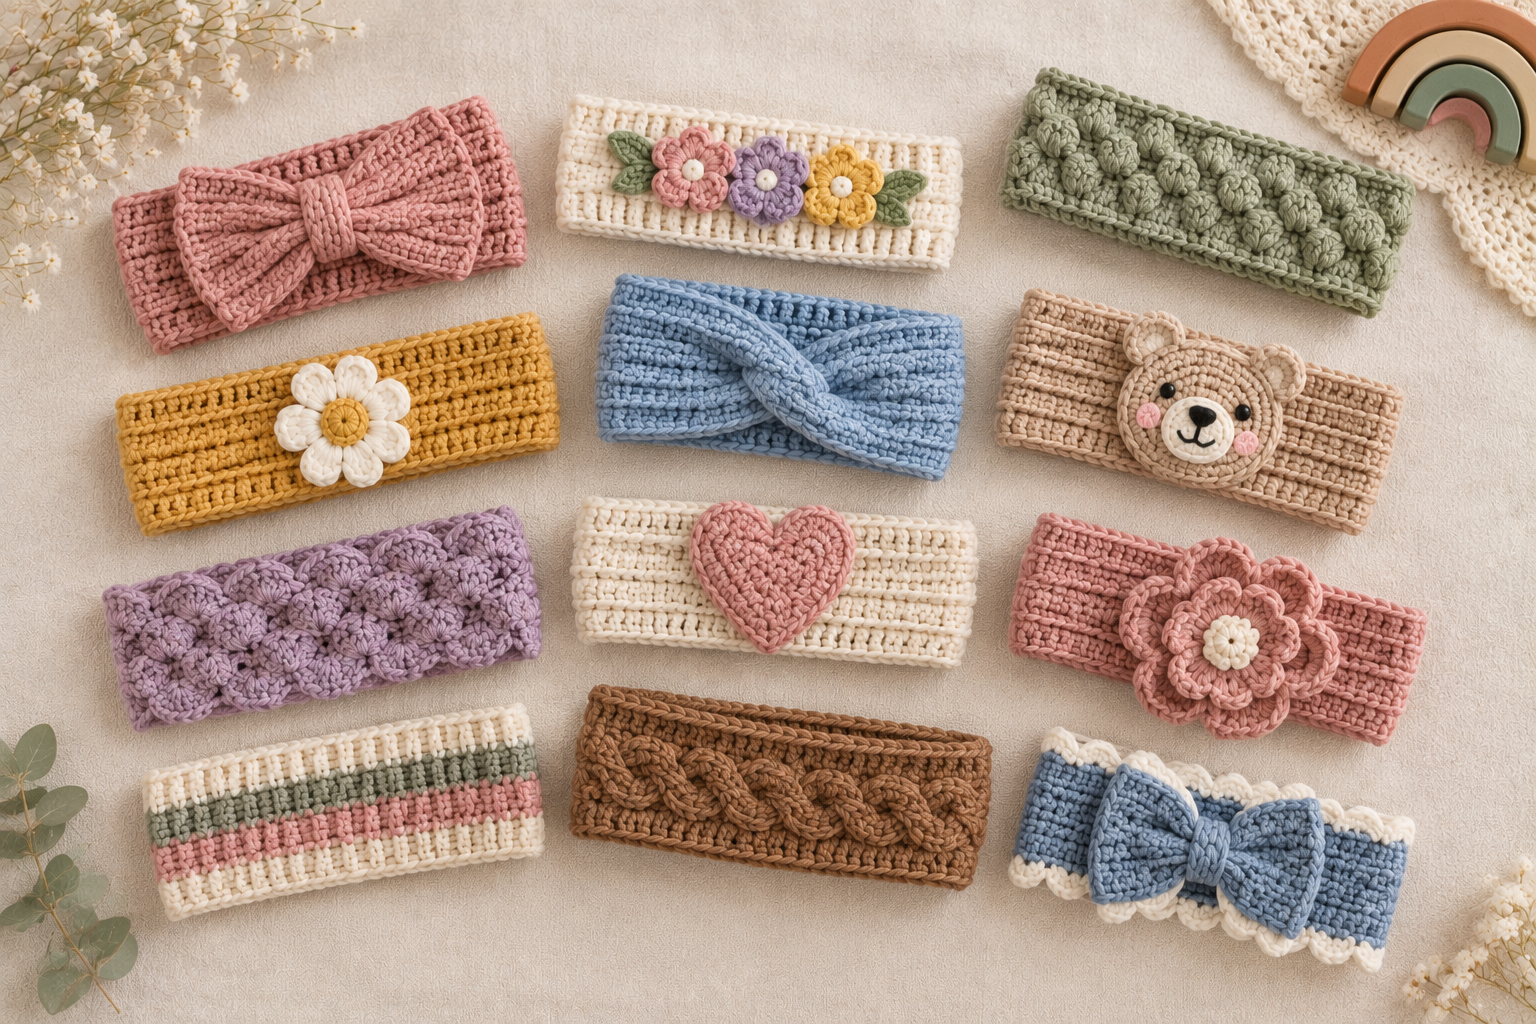
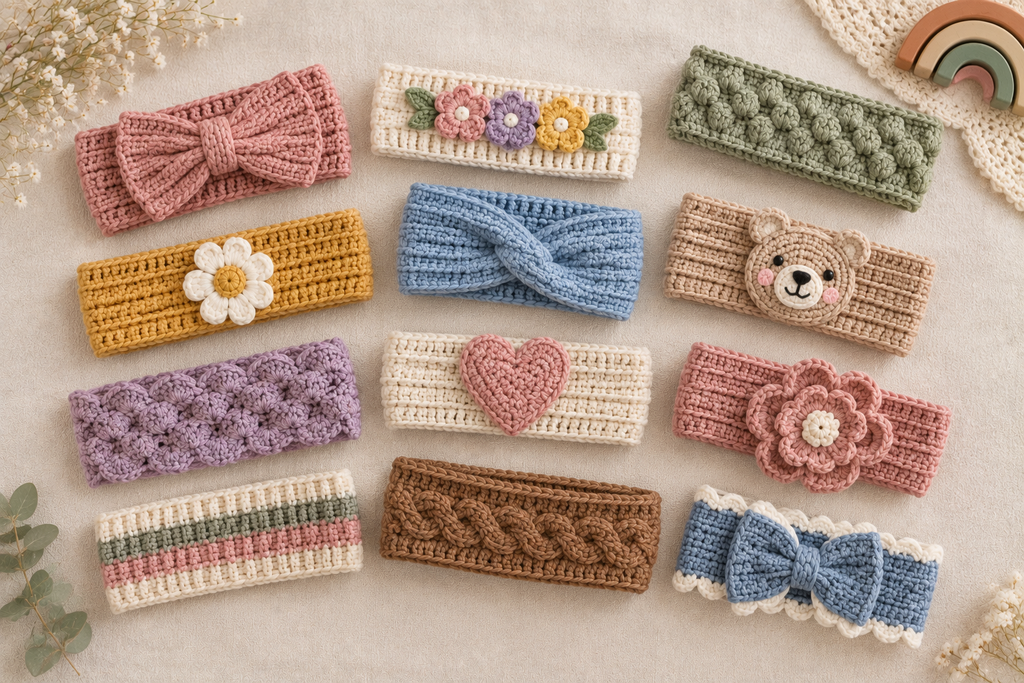
A plain ribbed band is really just a starting point, and once you start layering on texture, color blocks, or a small attached detail, the same simple shape can look like nine completely different accessories. Here are 9 free crochet baby headband patterns you’ll love, along with a look at the two different ways to add a decorative detail to a band.
Attaching Embellishments: Sewn On or Crocheted In
There are two main ways to add a decorative detail, like a bow, a button, or a pom-pom, to a plain headband. Crocheting it directly into the band as you work gives a seamless, permanent finish with no extra sewing needed afterward, but it locks that detail into one exact spot. Sewing it on separately once the band is finished takes an extra step, but it lets you test different placements before committing, and it makes the detail easier to remove or replace later if it gets worn or a baby’s preferences change. Neither method is really better, it mostly comes down to whether you want the flexibility of adjusting later or the convenience of finishing everything in one pass.
9 Crochet Baby Headband Patterns to Try
1. The Puff Stitch Headband
Small, raised puff stitches worked in a single row down the center of the band give this headband a soft, dimensional texture without needing any separate attached piece. It’s an easy way to add detail while keeping the project quick.
2. The Pom-Pom Headband
A trio of small, fluffy pom-poms attached along the top edge of a plain ribbed band brings a playful, tactile detail that a flat trim can’t match. The pom-poms are made separately, so the base band itself stays simple.
3. The Striped Headband
Even bands of color worked across a plain ribbed base give this headband a bold, graphic look that’s easy to customize to match a specific outfit. It’s also a good project for using up small leftover amounts of yarn in coordinating colors.
4. The Waffle Stitch Headband
A grid of small raised bumps worked across the band adds warmth and texture, giving this headband a cozier look than a smooth ribbed style. It’s a satisfying stitch to practice on a small project before trying it on something larger.
5. The Two-Tone Colorblock Headband
Rather than stripes or a gradual fade, this design splits the band into two solid halves of contrasting color, meeting at a clean vertical line at the center front. It’s a graphic, modern look that comes together with just one color change.
6. The Button-Trim Headband
A row of two or three small buttons, sewn on after the band is finished rather than crocheted in, adds a simple decorative detail along the front of an otherwise plain band. Choosing large, securely sewn buttons matters most here, since anything loose poses a choking risk for a young baby.
7. The Basketweave Headband
Alternating blocks of front-post and back-post stitches create a woven, criss-cross texture across the band, giving it a more tailored look than a plain ribbed style. It’s a good next stitch to try once you’re comfortable with basic post stitches.
8. The Chevron Ripple Headband
A zigzag stitch pattern worked across the width of the band creates a wavy, dynamic line that stands out more than a straight stripe. It looks especially sharp worked in two alternating colors to emphasize the zigzag shape.
9. The Scalloped Edge Headband
Instead of a plain straight edge, this version finishes one long side of the band with a row of small scallops, softening the headband’s overall look. The scallops are worked as a final row, so they don’t change the main band construction underneath.
Matching a Headband Style to the Occasion
A plain striped or colorblock headband works well for everyday wear, since both are quick to make and easy to match to multiple outfits, while a more detailed style like the pom-pom or button-trim headband suits a special photo or a gift more than daily use. Keeping a couple of plain, fast options on hand alongside a more detailed favorite gives you flexibility either way.
Common Questions
Is It Better to Crochet a Detail In or Sew It On Afterward?
It depends on how much flexibility you want. Crocheting a detail directly into the band gives a clean, permanent finish, while sewing it on afterward lets you adjust the placement or swap it out later without redoing the whole headband.
Which of These 9 Styles Is Easiest for a Beginner?
The striped and two-tone colorblock headbands are both good starting points, since each relies on a single color change rather than a new stitch pattern or an attached embellishment. Save the basketweave and chevron ripple designs for once you’re comfortable with the core ribbing.
How Long Does It Take to Crochet a Baby Headband?
Most of these headbands take under an hour, with the pom-pom and button-trim styles taking a little longer because of the extra attached pieces. A plain striped band finishes fastest of all.
What Yarn Works Best for These Headband Styles?
A soft, machine-washable cotton or cotton-blend yarn with a bit of stretch suits most of these designs well, while a slightly fuzzier yarn helps the waffle and basketweave textures stand out more clearly.
Are Buttons or Small Attached Pieces Safe for a Baby Headband?
A large button or pom-pom, checked periodically to make sure nothing has loosened, is generally fine for short, supervised wear, but it’s worth avoiding small or loosely attached pieces on a headband meant for an especially young baby, since anything that comes free poses a choking risk.
How Much Yarn Does a Headband Use?
Most headbands use well under a full skein, often somewhere between 20 and 50 yards depending on width and any added trim, making them an easy way to use up small amounts of leftover yarn.
Can I Combine Two of These Ideas, Like a Waffle Stitch Band With a Pom-Pom Trim?
Yes, and it’s an easy way to make a design more your own. Since the pom-poms and buttons are separate attached pieces, either one can be added to almost any of the textured or striped bands on this list without any conflict.
Can I Resize One of These Headbands as the Baby Grows?
Yes, since most of these bands are worked as a simple strip or a small tube, you can usually add or remove a few stitches or rows to adjust the finished circumference. Checking the fit against an actual head measurement before joining the ends is the most reliable way to land on the right size.
Final Thoughts
From a woven basketweave to a trio of playful pom-poms, these 9 headbands show just how far one simple ribbed band can stretch with a bit of texture or a small added detail. Pick whichever style suits the occasion, and you’ll have a genuinely charming little headband ready in well under an hour.