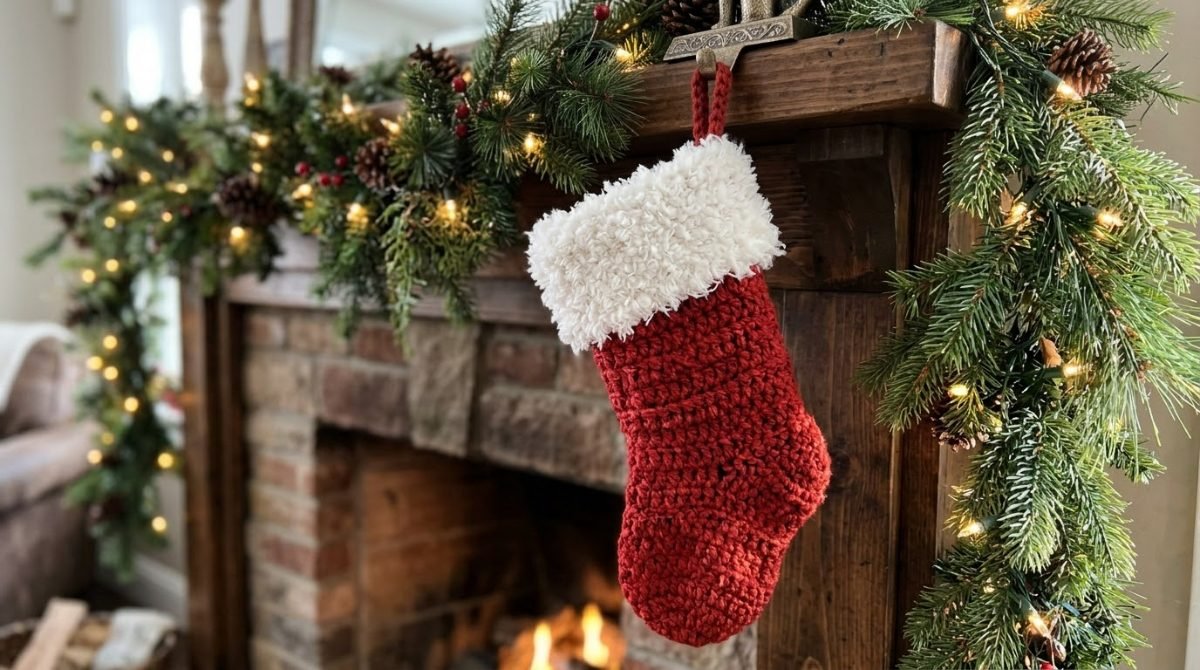
Crochet Christmas stockings are one of the most-searched holiday patterns right now, and it’s easy to see why. A handmade stocking gets hung up year after year, and it makes a lovely gift for a new baby, a new home or a first Christmas together. This beginner pattern uses only half double crochet (hdc), two flat panels and a soft white cuff. There’s no heel turning and no working in the round.
Materials
- Worsted (#4) acrylic yarn: red (about 150 g) and white (about 40 g)
- 5.5 mm (US I-9) crochet hook
- Yarn needle, stitch markers, scissors
- Optional: a pom-pom maker, small bell or felt letters for the name
Finished size: about 40 cm (16 in) from cuff to heel and 30 cm (12 in) from heel to toe.
Abbreviations (US): ch = chain, sc = single crochet, hdc = half double crochet, hdc2tog = half double crochet 2 together, sl st = slip stitch, st(s) = stitch(es), FO = fasten off.
Step 1: Panel 1 (red)
- Leg: ch 26. Row 1: hdc in 3rd ch from hook and in each ch across. (24) Turn.
- Rows 2–18: ch 1, hdc in each st across. (24)
- Row 19 (foot): ch 14, hdc in 3rd ch from hook and next 11 ch, then hdc across the leg. (36)
- Rows 20–27: ch 1, hdc in each st across. (36)
- Rows 28–31 (toe): ch 1, hdc2tog, hdc across to the last 2 sts, hdc2tog. (28 at the end)
- FO.
Step 2: Panel 2 (mirror image)
Work Rows 1–19 the same as panel 1, but work Row 19 as a plain row (24 hdc). At the end of Row 19, ch 14 and turn. Row 20: hdc in 3rd ch from hook and next 11 ch, then hdc across (36). Work 8 more plain rows, then the 4 toe rows. Laying the panels together, the feet now point the same way.
Step 3: Join the panels
Place the panels wrong sides together. With red, sc through both layers all around the sides, foot and toe, leaving the top open. Work 3 sc in each corner of the toe so it lies flat.
Step 4: Fluffy cuff (white)
- Rnd 1: join white at the back seam, ch 1, sc evenly around the top opening. Join with a sl st.
- Rnds 2–7: ch 1, hdc in each st around. Join.
- Fold the cuff down over the top of the stocking. For an extra-fluffy look, use a chenille or “faux fur” yarn for the cuff.
Step 5: Hanging loop
At the back seam, join red, ch 15 and sl st back into the same spot. Sl st back along the chain once more for strength. FO and weave in all ends.
6 ways to personalize it
| Idea | How |
|---|---|
| Name | Embroider with chain stitch, or glue on felt letters |
| Candy stripes | Switch red and white every 2 rows |
| Pom-pom | Add a white pom-pom to the cuff corner |
| Jingle bell | Sew a small bell to the toe |
| Scandi look | Work the panels in cream with a green cuff |
| Mini stocking | Use DK yarn and a 4 mm hook for a gift-card stocking |
Tips
- Count your stitches at the end of every row. Panels that don’t match are hard to join neatly.
- Use a stiff acrylic so the stocking holds its shape when it’s full of gifts.
- Blocking: pin the panels flat and steam lightly before joining.
FAQ
Is this stocking pattern good for beginners?
Yes. If you can chain and work half double crochet in rows, you can make it.
How long does it take?
About 5–6 hours, which makes it a perfect weekend project.
Can I make it bigger?
Yes. Use a super bulky yarn and a 9 mm hook, and the same pattern makes a giant stocking.
More Christmas patterns
Made a stocking for the whole family? Save this pattern to your Christmas board and come back to Crochetips for more holiday patterns.