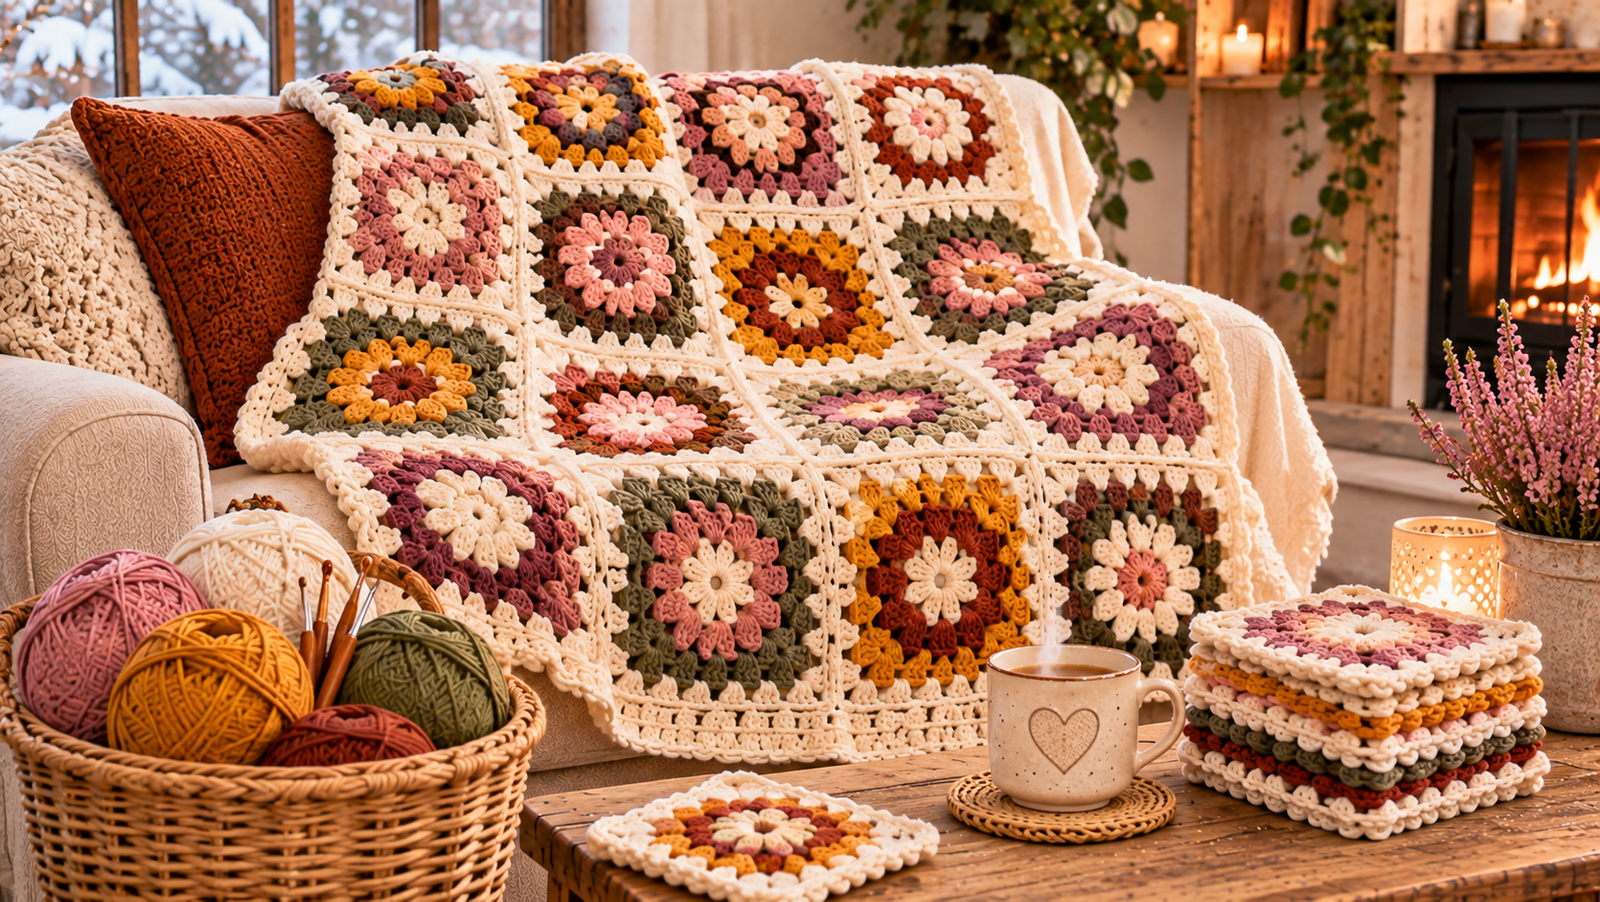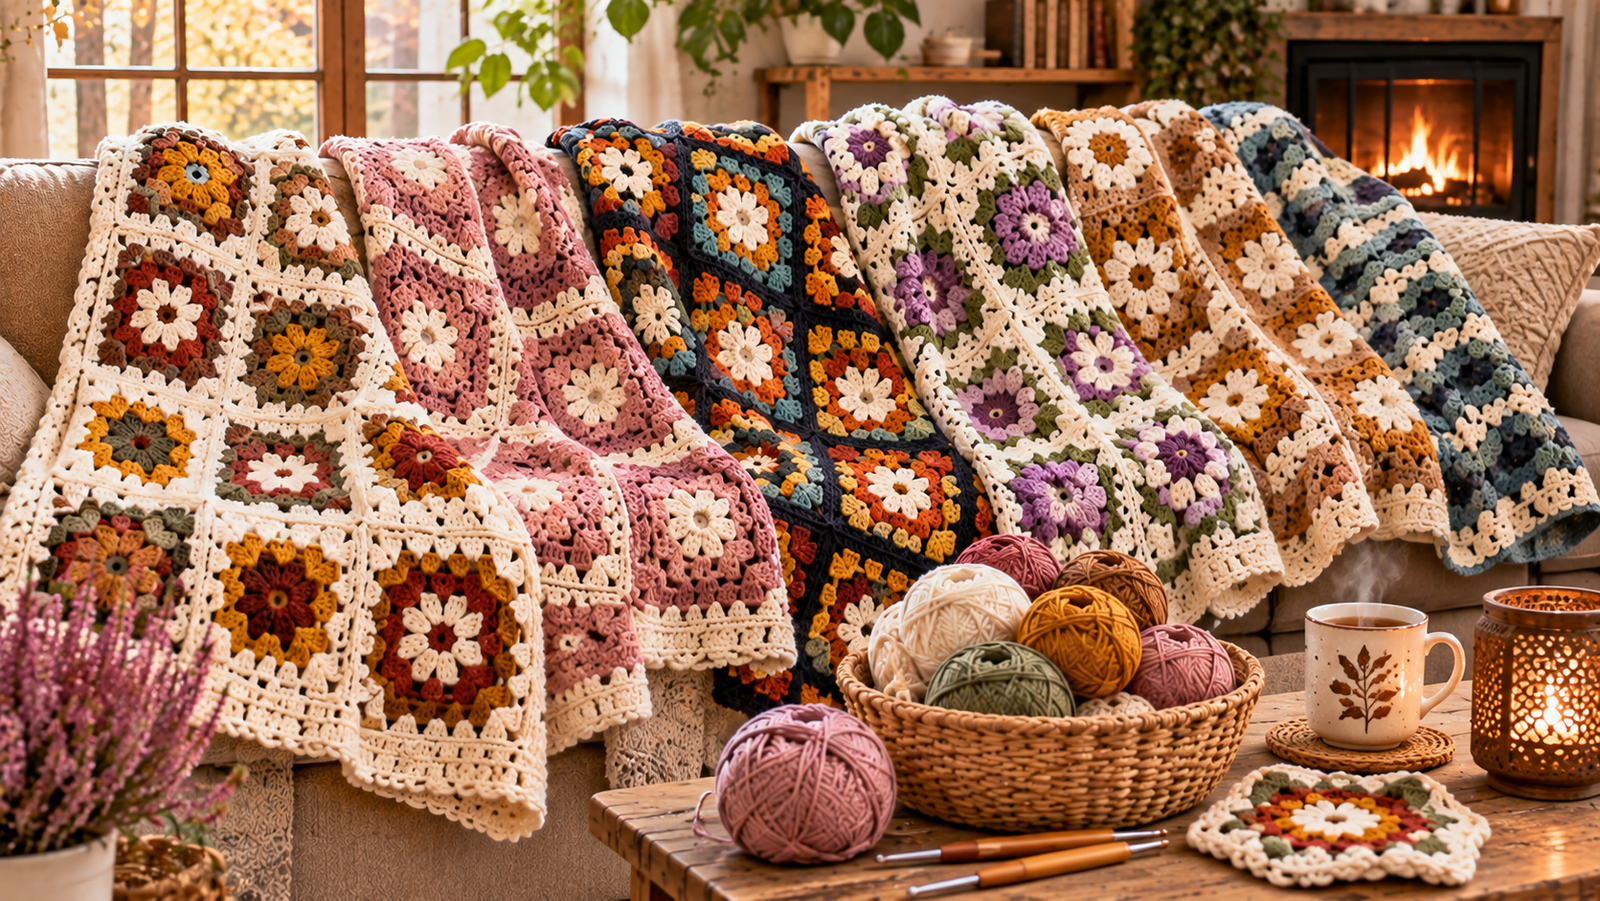
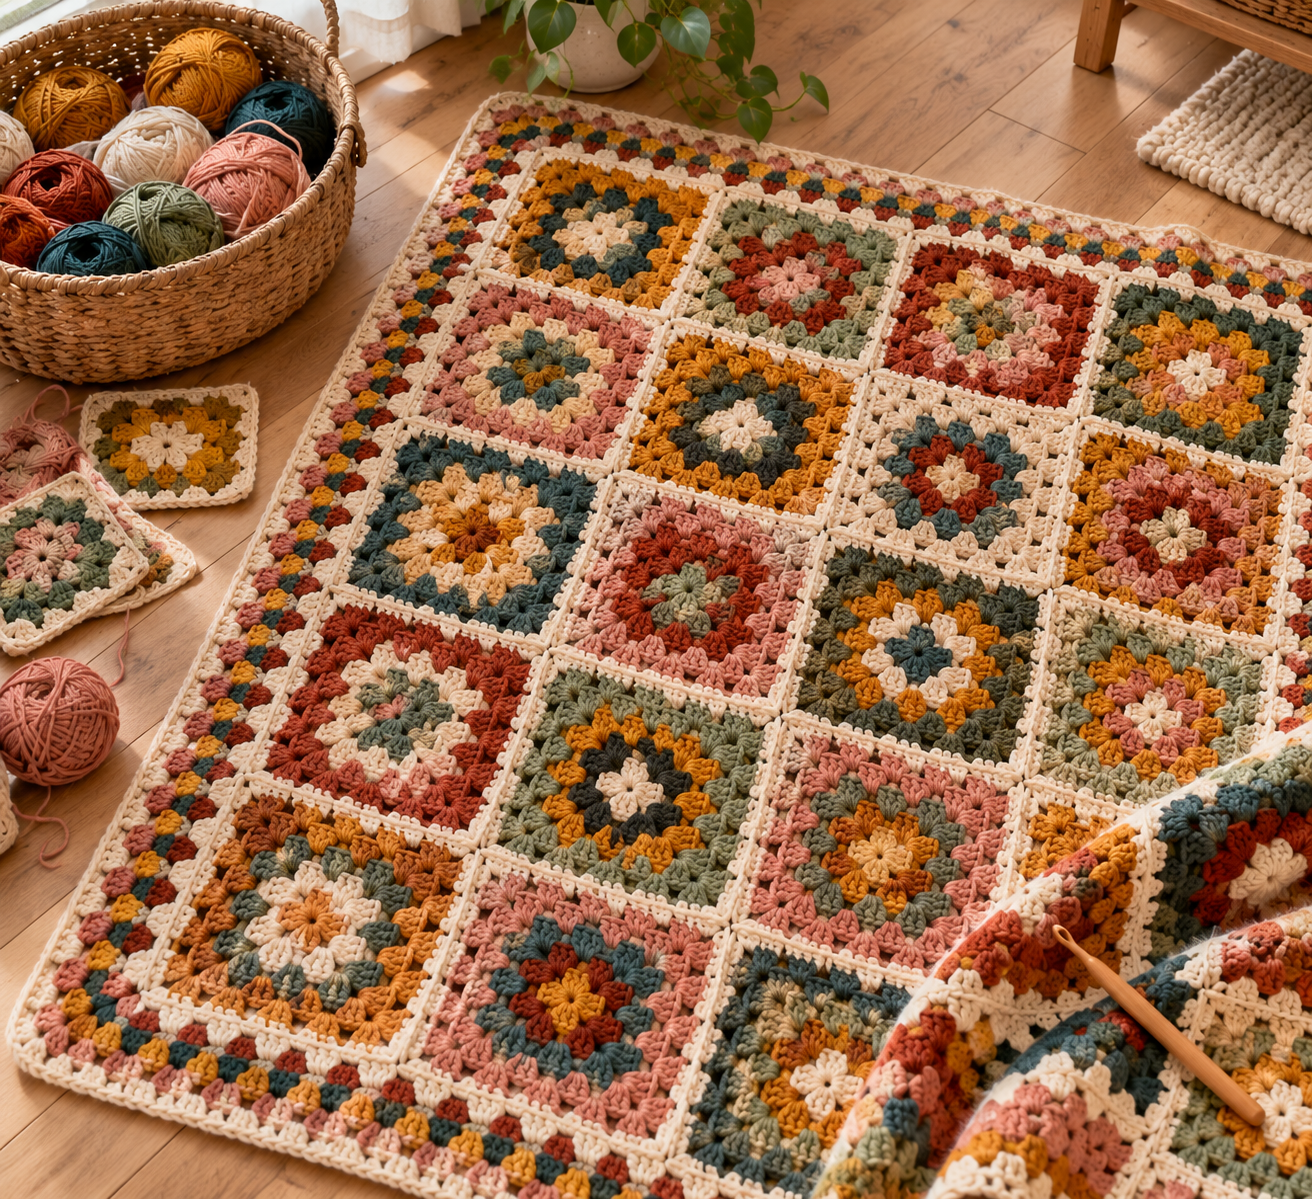
Some projects are worth every single stitch, and a patchwork granny square blanket is one of them. It is made from small, easy squares, it uses up leftover yarn, and it ends up looking like a quilt you crocheted by hand. Best of all, you do not need advanced skills. If you can make a simple granny square, you can make this blanket.
Below you will find a free patchwork granny square blanket pattern with the classic square recipe, color planning tips, joining instructions, and a simple border. Pattern terms are in US crochet language.
What You Need
- Yarn: worsted weight (medium, 4) in a mix of colors, plus one neutral for joining and the border. Acrylic or a cotton blend is easy to care for.
- Hook: 5 mm (H-8) or the size that gives you a soft, flexible fabric.
- Yarn needle: for weaving in ends and sewing squares together.
- Scissors, measuring tape, and stitch markers.
Choose one yarn brand and weight for the whole blanket, so every square comes out the same size and texture.
Abbreviations
- ch: chain
- sl st: slip stitch
- dc: double crochet
- sp: space
Finished Size
A 4-round square usually measures about 6 inches across with worsted weight yarn. A throw blanket of about 48 by 60 inches needs roughly 8 squares across and 10 squares down, which is 80 squares. For a lap blanket, try 6 by 8 squares, which is 48 squares. Always measure your first finished square to check, because your tension may make it a little bigger or smaller.
The Classic Granny Square (4 Rounds)
Round 1
Make a magic ring, or ch 4 and join with a sl st to form a ring. Ch 3 (this counts as your first dc). Work 2 dc into the ring, then ch 2. Work 3 dc into the ring, ch 2. Repeat this two more times, so you have four groups of 3 dc and four ch-2 corners. Join with a sl st to the top of the beginning ch 3.
Round 2
Sl st across the next 2 dc and into the first ch-2 corner space. Ch 3, then work 2 dc, ch 2, and 3 dc in the same corner space. Ch 1. In each of the next corners, work 3 dc, ch 2, 3 dc, then ch 1. Join with a sl st to the top of the beginning ch 3, and fasten off if you want to change color.
Round 3
Join a new color in any corner space, or continue with the same yarn. Ch 3, then work 2 dc, ch 2, and 3 dc in the same corner. Ch 1. Work 3 dc in the next ch-1 space along the side, then ch 1. In the next corner, work 3 dc, ch 2, 3 dc, ch 1. Repeat around, working 3 dc in each side space and a full corner group in each corner. Join with a sl st.
Round 4
Work the same way as Round 3, but you will now have two side spaces on each side. Work 3 dc in each, with ch 1 between each group, and work a corner group of 3 dc, ch 2, 3 dc in each corner. Join with a sl st, fasten off, and weave in your ends.
Planning Your Patchwork Colors
The patchwork look comes from mixing colors across the blanket. Try one of these approaches:
- Scrap patchwork: use leftover yarn, with a different mix of colors in each square.
- Limited palette: choose five or six shades that go well together, and repeat them in different combinations.
- Neutral center: use the same cream or gray for Round 1 in every square, then add color in the outer rounds.
- Solid frame: make the last round of every square in the same neutral, which pulls the patchwork together.
Before you join anything, lay all the squares on the floor and move them around. Separate similar colors, and check that the blanket looks balanced.
Blocking Your Squares
Pin each square to the same size on a flat surface, then steam or lightly dampen it. Let it dry completely. Blocked squares are the same size and have straight edges, which makes joining much easier. Acrylic yarn needs a very light touch, so keep the iron or steamer a little away from the fabric.
How to Join the Squares
Choose one joining method and use it for the whole blanket.
- Whip stitch: hold two squares with right sides together, and sew through the back loops with a yarn needle. It makes a flat, neat seam.
- Slip stitch join: hold two squares together and crochet through both with a sl st for a firm, slightly raised seam.
- Join as you go: work the last round of each new square by connecting it to the neighbors, so there is less sewing at the end.
Join the squares into rows first, then join the rows together. This keeps the corners lined up.
Adding the Border
A border gives your blanket a polished finish. Here is a simple one:
- Round 1: join your neutral yarn in any corner. Ch 3, then work 2 dc, ch 2, and 3 dc in the corner. Work dc evenly along each side, working 3 dc in each corner space. Join with a sl st.
- Round 2: repeat Round 1, or work a round of single crochet for a firmer edge.
- Optional Round 3: work a row of single crochet around for a neat finish.
Weave in all remaining ends securely.
Tips to Make Every Stitch Worth It
- Keep your tension steady. Even squares are the secret to a neat blanket.
- Weave in ends as you go. A blanket with 80 squares has a lot of them.
- Buy extra neutral yarn. The joins and border use more than you expect.
- Make a few spare squares. They help if you need to fix a mistake.
- Track your progress. Keep finished squares in a clear bag and watch the pile grow.
Caring for Your Blanket
Follow the care label on your yarn. Most acrylic blankets can go in the washing machine on a gentle cycle and dry on low heat. Wool blends need cool water and flat drying. Store your blanket folded, away from direct sunlight.
Final Thoughts
A patchwork granny square blanket is a project you will be proud of. It is easy to start, easy to carry, and endlessly customizable. Choose your colors, make a few squares each day, and enjoy watching the patchwork grow. When you finish, you will have a handmade blanket that was truly worth every stitch. For more ideas, explore our other crochet blanket collections.