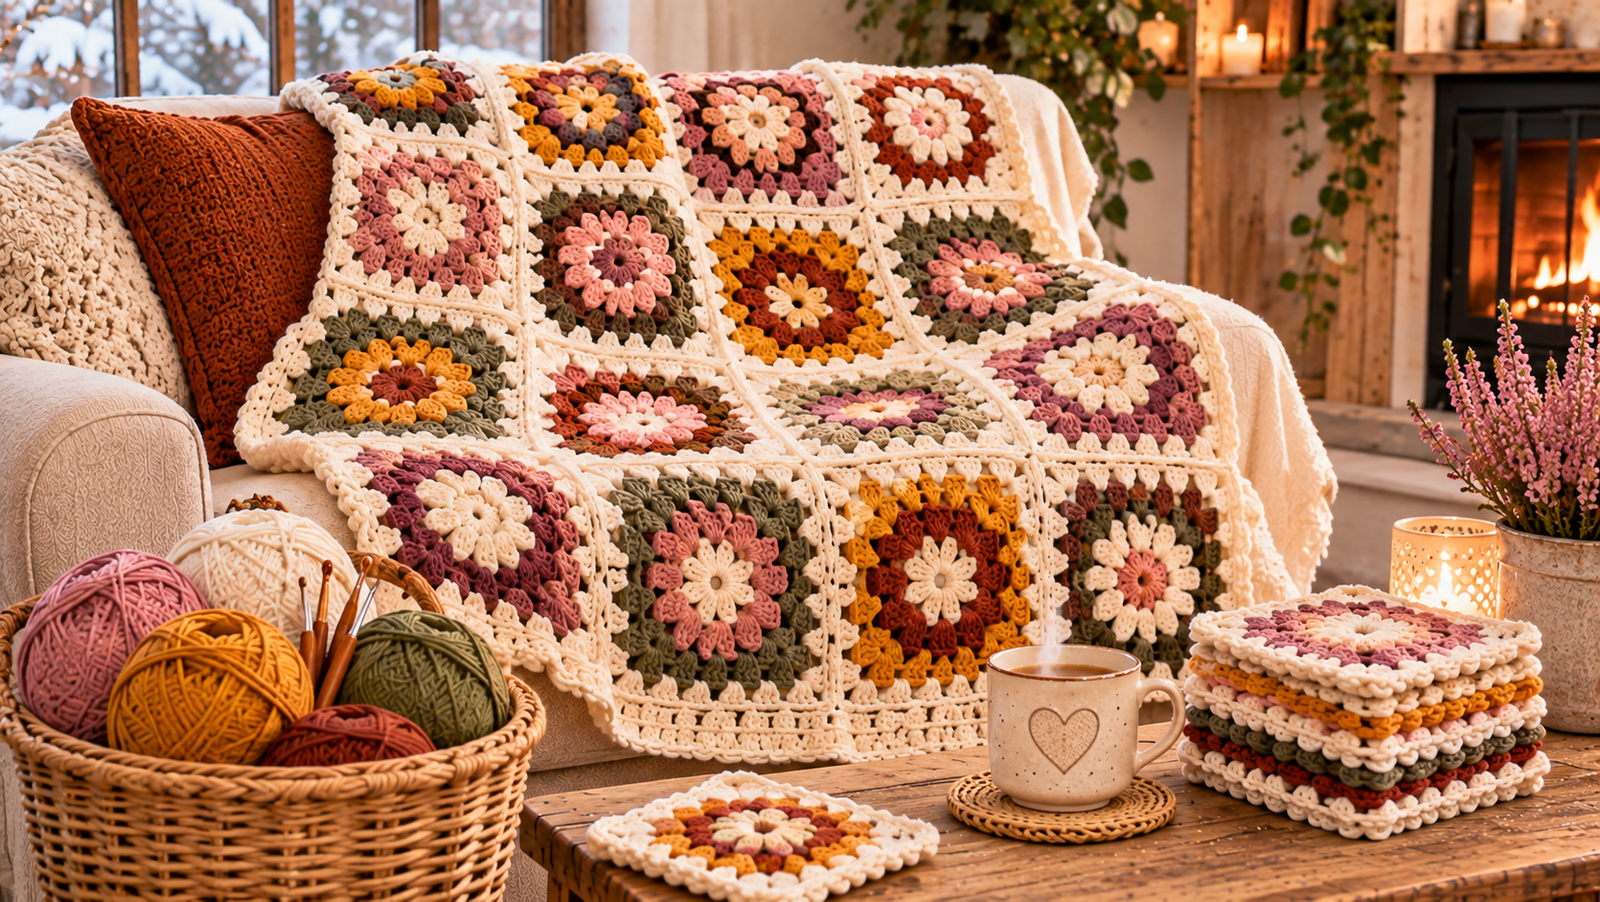
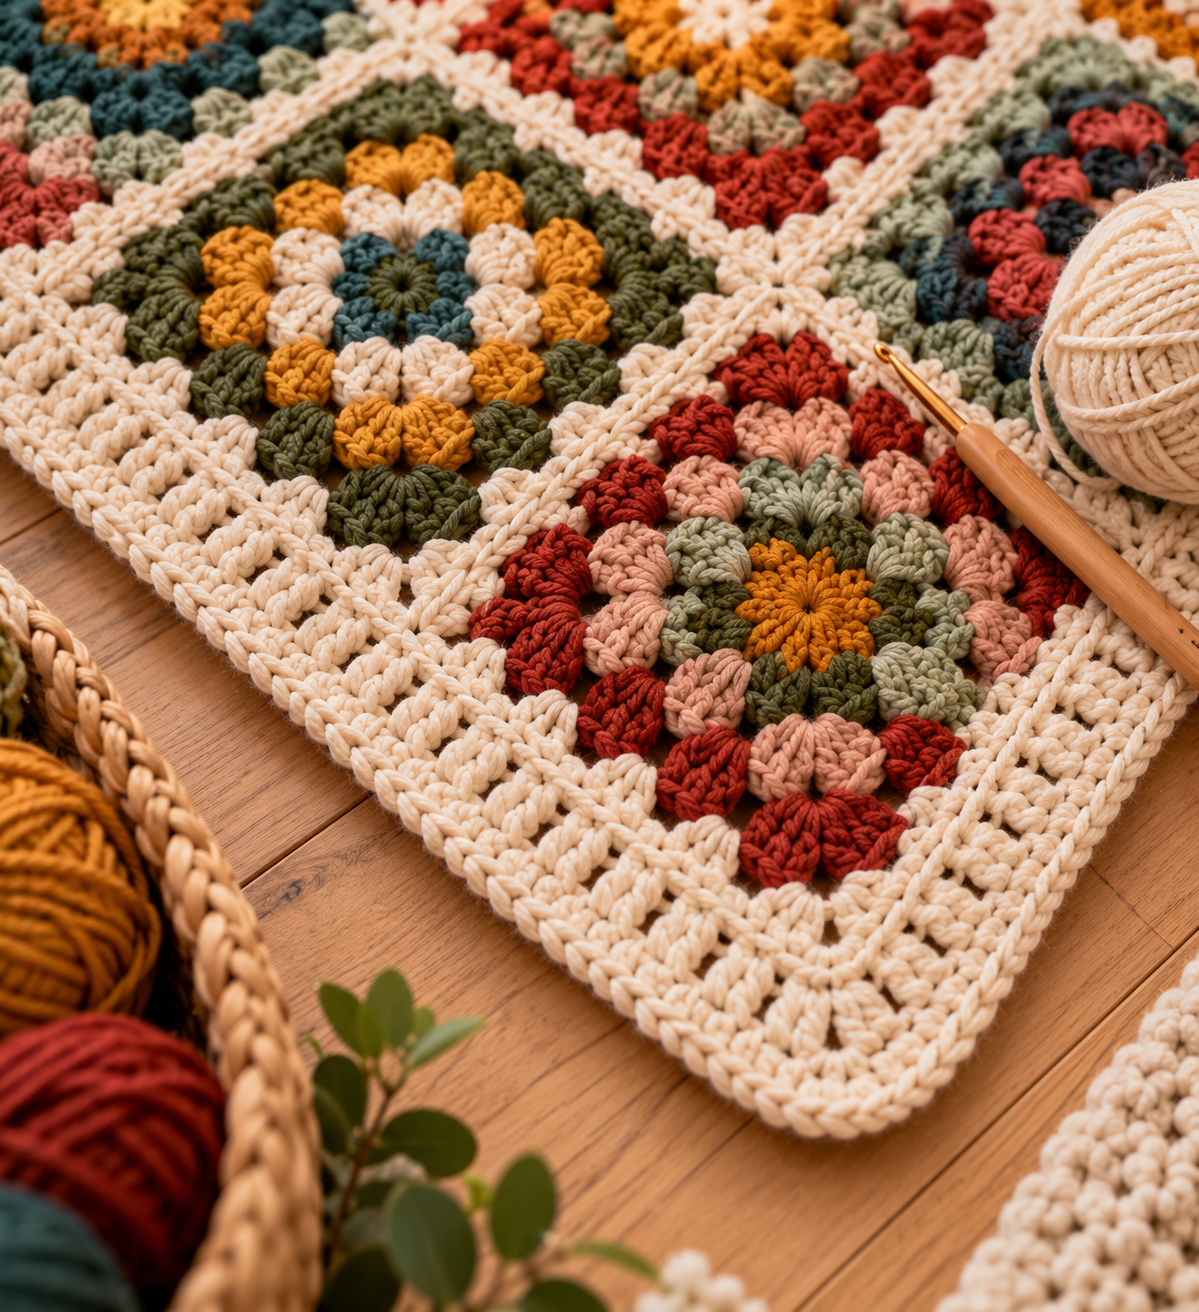
You have joined the last square, and your granny square blanket finally looks like a blanket. But the edges are bumpy, the corners are uneven, and something is missing. The answer is a border. A good crochet border for a granny square blanket hides the uneven edges, frames your colors, and gives the whole project a polished, professional finish.
In this step-by-step guide, you will learn how to prepare your blanket, work a simple border, handle the corners, and choose from several popular border styles. All instructions use US crochet terms.
Why a Border Makes Such a Difference
A border does more than add decoration:
- It straightens the edges. Granny squares have gaps and bumps where they meet, and a border evens them out.
- It stabilizes the blanket. A firm border helps the blanket keep its shape.
- It frames the colors. A solid border ties a patchwork of shades together.
- It adds size. A few rounds make the blanket larger without extra squares.
- It protects the edges. A sturdy border takes the wear from washing and use.
What You Need
- Yarn: the same weight as your squares, in a neutral shade like cream, gray, or charcoal, or a color from your palette.
- Hook: the same size you used for the squares, or one size smaller for a firmer edge.
- Yarn needle and scissors.
- Stitch markers: to mark the corners.
Check how much yarn you have before you start. A border uses more than you expect, because it goes all the way around the blanket for several rounds.
Abbreviations
- ch: chain
- sl st: slip stitch
- sc: single crochet
- dc: double crochet
- sp: space
Step 1: Prepare Your Blanket
Before you start the border, weave in all the loose ends from your squares and joins. Lay the blanket flat on a bed or table, and check the edges. If the blanket was not blocked, pin it gently to shape and steam it lightly. A flat, even edge makes the border much easier.
Step 2: Choose Your Border Color
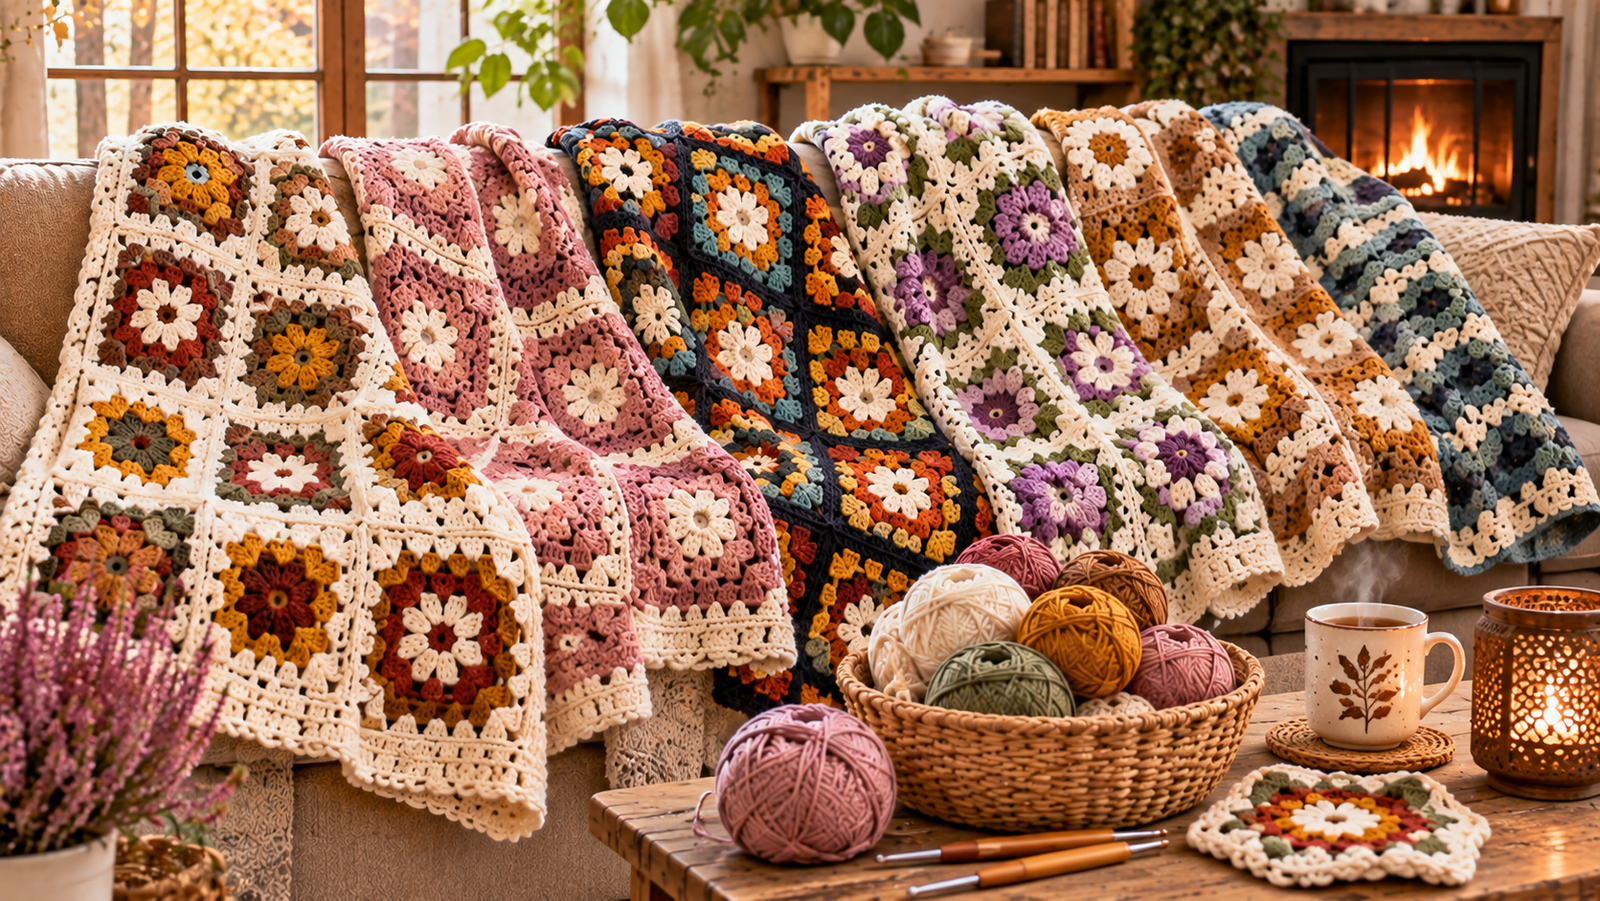
A solid color keeps the look calm and ties everything together. Cream and gray are safe choices for a colorful blanket. A dark shade like navy or charcoal gives a bold frame. If you used a neutral to join the squares, repeat it in the border for a seamless look.
Step 3: Start with a Foundation Round of Single Crochet
This first round evens out the edges and prepares for the border. Join your yarn in any corner space, then ch 1. Work 3 sc in the corner space. Along each side, work 1 sc in every stitch, and work 1 sc in each space between the squares, so the stitches line up neatly. At each corner, work 3 sc in the corner space. Join with a sl st to the first sc.
A foundation round gives you a clean base, and it makes the stitch count easy to check.
Step 4: Work the Corners Carefully
Corners are where most borders go wrong. Here is the rule: every corner needs extra stitches, so the fabric turns without pulling or cupping. For single crochet, work 3 stitches in the corner stitch. For double crochet, work 2 dc, ch 2, and 2 dc in the corner space. Place a stitch marker in the middle stitch of each corner, so you can find it in the next round.
Step 5: Add Your Main Border Rounds
Once the foundation round is done, you can work any border you like. Here is a simple double crochet border that looks great on almost any blanket:
- Round 1: ch 3, which counts as your first dc. Work 1 dc in each stitch along the side. At each corner, work 2 dc, ch 2, and 2 dc in the corner space. Join with a sl st to the top of the beginning ch 3.
- Round 2: repeat Round 1, making sure you work the corner group in the ch-2 space each time.
- Round 3 (optional): repeat again for a wider border.
Each round adds about one inch of width, depending on your yarn and hook.
Step 6: Finish with a Round of Single Crochet
A final round of sc gives the edge a firm, neat finish. Ch 1, then work 1 sc in each stitch around, working 3 sc in each corner space. Join with a sl st, and fasten off.
Step 7: Weave In Ends and Block
Weave in the ends on the wrong side, and trim them closely. Pin the blanket flat to measure, then steam it lightly. Let it dry completely, so the border lies flat.
Popular Border Styles to Try
Once you know the basics, you can try different styles:
- Simple dc border: classic, neat, and easy, as shown above.
- Shell border: groups of dc worked into the same stitch create a scalloped, feminine edge.
- Picot edge: tiny loops along the final round add delicate texture.
- Ribbed border: work in the back loops only for a stretchy, structured frame.
- Striped border: change colors every round, using shades from your blanket.
- Crab stitch edge: work single crochet from left to right, creating a twisted, rope-like edge that is very sturdy.
How to Make Corners Lie Flat
If your corners curl or ruffle, check these common causes:
- Too few corner stitches. The fabric needs more room to turn, so add one stitch to each corner group.
- Too many corner stitches. The corner ruffles, so remove one stitch from the group.
- Tension that is too tight. Use a larger hook for the border.
- Uneven stitch counts on the sides. Count the stitches along each side, and keep them even.
Blocking also helps a lot. Pin the corners square, steam them lightly, and let them dry.
Tips for a Neat Border
- Count your stitches. Keep the same number on opposite sides for an even blanket.
- Use stitch markers. Mark the corners and the first stitch of each round.
- Work into the spaces between squares. It makes the border follow the shape of the squares.
- Keep your tension relaxed. A tight border pulls the blanket in, and a loose one ruffles.
- Buy extra yarn. A border often uses more than you expect.
Final Thoughts
A crochet border is the finishing touch that turns a pile of squares into a proper blanket. Prepare your edges, work the corners with care, and choose a style that fits your design. With a little patience, you will have a polished handmade blanket that looks beautiful and lasts for years. For more ideas, explore our other crochet blanket collections.