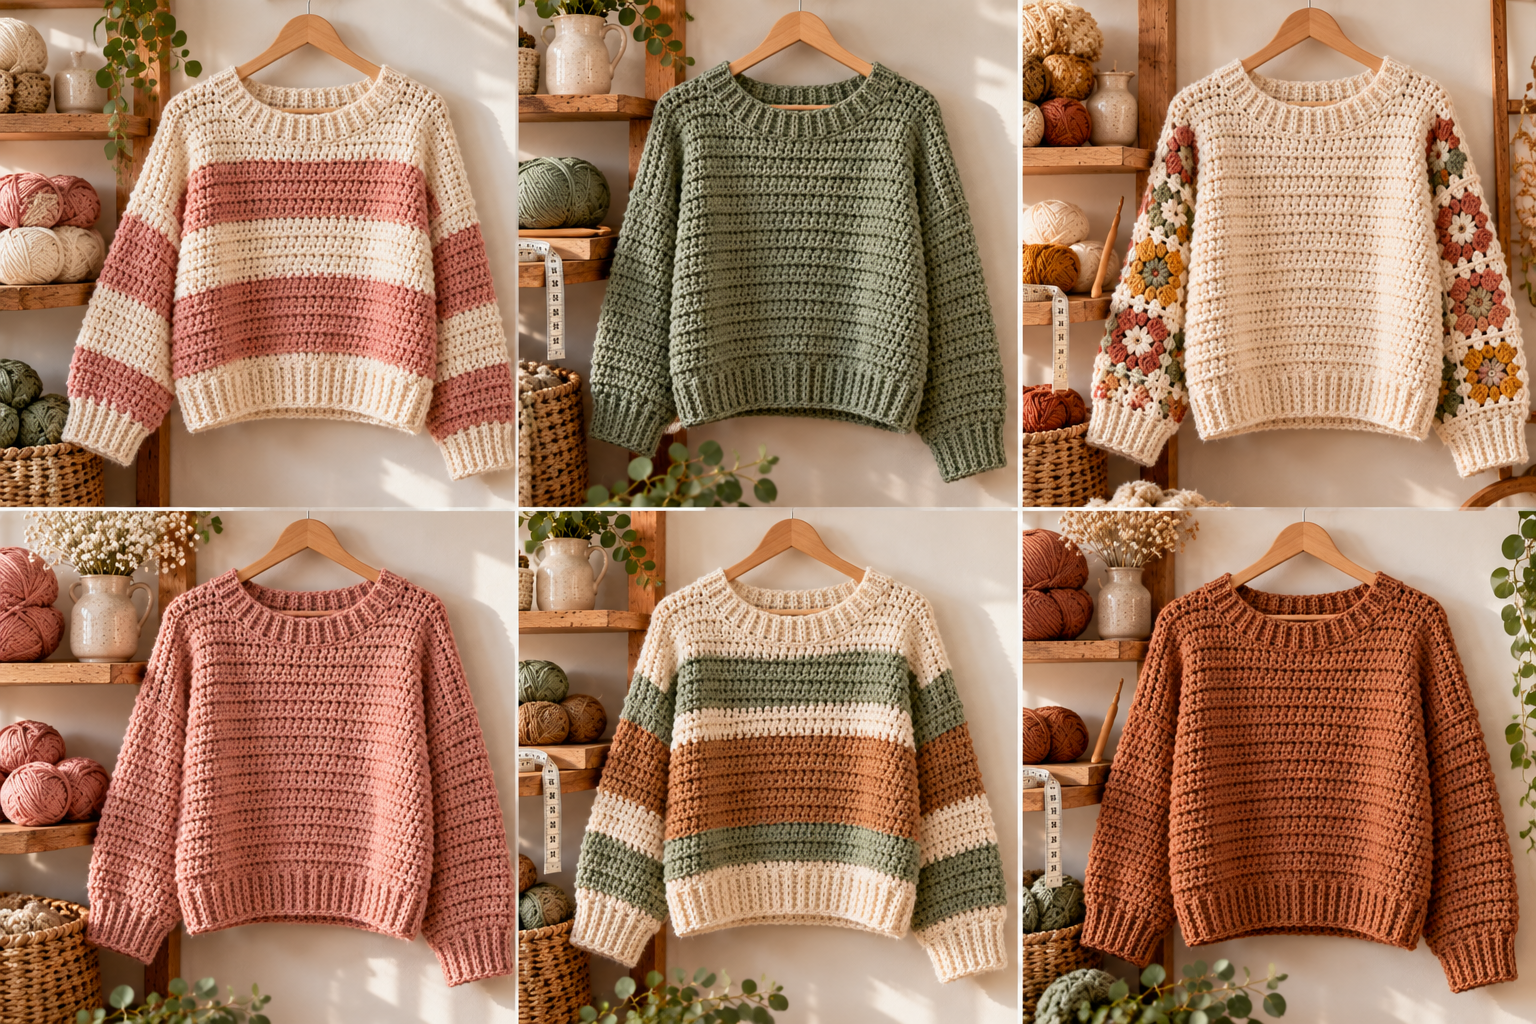
If you have ever wondered what the easiest crochet sweater to make is, the answer is the simple boxy sweater. It is built from rectangles, it uses one basic stitch, and it needs almost no shaping. There are no tricky armholes to calculate and no curved seams to sew. If you can crochet a flat rectangle, you can make this sweater.
In this guide, you will learn exactly how the pattern works, what supplies you need, how to choose your size, and how to put it all together, step by step.
Why the Boxy Rectangle Sweater Is the Easiest Choice
Most crochet sweaters look complicated because of the shaping. This one skips it:
- Straight pieces only. The body and sleeves are plain rectangles.
- One basic stitch. Half double crochet or double crochet is all you need.
- A forgiving fit. The relaxed shape hides small sizing mistakes.
- Few seams. Two body panels, two sleeves, and you are nearly done.
- Simple finishing. A basic ribbed or single crochet border completes the look.
What You Need
Gather these supplies before you begin:
- Worsted or bulky weight yarn: soft and smooth, in a light or medium color.
- A hook in the size on the yarn label: adjust after you swatch.
- A yarn needle: for seaming and weaving in ends.
- Stitch markers: to mark seam points.
- A measuring tape, scissors, and pins: the basics for any garment.
A soft acrylic or wool blend is a good first choice. Light colors show each stitch clearly, which helps when you are learning.
How the Pattern Is Built
The sweater has just four main pieces:
- Front panel: a rectangle that is as wide as half your chest measurement, plus a little ease.
- Back panel: an identical rectangle.
- Two sleeves: rectangles that match your arm length and the width of the armhole.
You join the front and back at the shoulders, leaving a gap in the middle for your head, then sew the sleeves to the sides and seam the underarms.
Step 1: Take Your Measurements
Measure around the fullest part of your chest, then decide how loose you want the sweater to be. For a relaxed fit, add four to eight inches. Also measure from your shoulder to where you want the hem to fall, and from your shoulder to your wrist for the sleeve length.
Write these numbers down. They will guide every other choice.
Step 2: Make a Gauge Swatch
Crochet a small square about six inches wide in your chosen stitch. Measure how many stitches and rows fit in four inches. Then divide your finished chest width by the stitches per inch to find how many stitches to chain for each panel.
If you are not sure how to do the math, choose a pattern that lists stitch counts for each size. The swatch still tells you whether to change your hook size.
Step 3: Crochet the Front and Back Panels
Chain the number of stitches you need, then work rows of half double crochet until the panel reaches your desired length. Keep your edges straight by counting your stitches at the end of every few rows.
Make the back panel the same way. Using the same row count for both panels keeps them matching.
Step 4: Crochet the Sleeves
Chain enough stitches to match the width of your upper arm, plus a little ease. Work rows until the sleeve reaches the right length. For a simple tapered sleeve, you can decrease one stitch at each end every few rows, but straight sleeves are fine for a first project.
Step 5: Block the Pieces
Pin each piece to the correct measurements on a flat surface. Steam or lightly dampen them, then let them dry completely. Blocking evens out your stitches and makes seaming much easier.
Step 6: Join the Shoulders
Place the front and back panels together with the right sides facing. Seam the shoulders using a flat stitch, such as slip stitch or mattress stitch, leaving the middle section open for the neck. About one third of the width is a comfortable neck opening.
Step 7: Attach the Sleeves
Find the center of each sleeve and match it to the shoulder seam. Pin the sleeve to the body, then sew it in place. Because the armhole is just a straight edge, there is no complicated shaping to fit.
Step 8: Seam the Sides and Underarms
Fold the sweater so the front and back meet, then seam from the hem up to the underarm, and continue along the underside of each sleeve. Check the fit before you finish the seams.
Step 9: Add the Neckline and Borders
Work a few rounds of single crochet around the neck opening to give it a clean edge. Add a simple ribbed border to the hem and cuffs, if you like, using the back loops of half double crochet to create a stretchy rib. Weave in all ends securely.
Easy Ways to Make It Your Own
Once you have the basic sweater, small changes make it unique:
- Add stripes. Change colors every few rows for a playful look.
- Try a new stitch. Swap half double crochet for moss stitch or a ribbed stitch.
- Change the length. Make a cropped version for a trendy look.
- Add a collar. A simple fold-over collar gives a cozy feel.
- Embroider a motif. A small flower or heart adds a personal touch.
Common Mistakes to Avoid
- Skipping the swatch. This is how sweaters end up too small or too large.
- Uneven edges. Count stitches often, so the sides stay straight.
- Not enough yarn. Buy extra in the same dye lot.
- Rushing the seams. Take your time, and use a flat seam so the joins are not bulky.
- Making the neck too small. Hold the pieces up to your head before you finish the seams.
Caring for Your Sweater
Wash your sweater gently in cool water, and press out the excess with a towel. Lay it flat to dry, and avoid hanging it, because the weight can stretch the stitches. Store it folded to keep its shape.
Final Thoughts
The easiest crochet sweater to make is a simple boxy pullover built from rectangles. It teaches you every skill you need for bigger projects, and you end up with a cozy, wearable piece. Take your time, make your swatch, and enjoy every row. Once you finish this first sweater, you will be ready to try more advanced designs. For more ideas, explore our other crochet sweater collections.